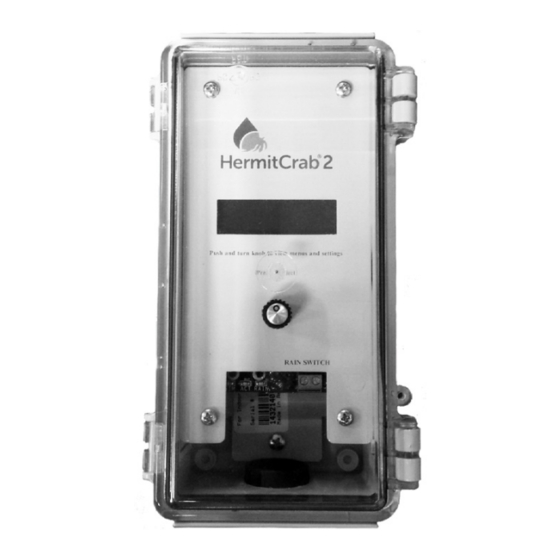
ET Water HermitCrab 2 Manual de instalação do utilizador - Página 8
Procurar online ou descarregar pdf Manual de instalação do utilizador para Controlador ET Water HermitCrab 2. ET Water HermitCrab 2 12 páginas.

Irritrol® MC Plus B, Irritrol®
PREPARING YOUR MC PLUS B CONTROLLER:
1. Set the controller to the "Rain Off" position.
2. Power off the controller.
ATTACHING THE HERMITCRAB COMMUNICATIONS
CABLE:
1. Remove the two screws securing the front panel in the
controller.
2. Carefully remove the front panel and locate the 6-pin
connector
located on the back of the front panel, next to the display.
3. Connect the plug on the communications cable to this
6-pin
connector.
Irritrol® Rain Dial®
PREPARING YOUR MC PLUS B CONTROLLER:
1. Set the controller to the "OFF or STOP" position.
2. Power off the controller before you connect the
HermitCrab
ATTACHING THE HERMITCRAB COMMUNICATIONS
CABLE:
1. Open up the front door of the Rain Dial.
2. Connect each individual fly wire to each 24 VAC termi-
nal. The fly wires can be connected to either terminal.
3. Connect the RJ11 into the communication port.
4. When the HermitCrab is running, a station the Irritrol
display will show which station is watering.
Page 12
HermitCrab communications cable connects
to Irritrol remote connector behind display
RJ11 cable connected
Each fly wire in the "24
to the communications
VAC"terminals
port
Rain Bird® LX Modular (6 Pin)
PREPARING YOUR RAIN BIRD CONTROLLER:
1. Leave the knob in the "OFF" position.
3. Power off the controller.
ATTACHING THE HERMITCRAB
COMMUNICATIONS CABLE:
1. Connect the 6 Pin plug on the communications cable to
the "REMOTE" connector on the right side of the transformer.
2. Connect the red and black wires to the terminal labeled
"24 VAC." Either wire can connect to either terminal.
Rain Bird® LX Plus (6 Pin)
PREPARING YOUR RAIN BIRD CONTROLLER:
1. Leave the knob in the "OFF" position.
3. Power off the controller.
ATTACHING THE HERMITCRAB
COMMUNICATIONS CABLE:
1. Connect the 6 Pin plug on the communications cable to
the "REMOTE" connector on the right side of the transformer.
2. Connect the red and black wires to the terminal labeled
"24 VAC." Either wire can connect to either terminal.
HermitCrab
communications
cable attached
to Rain Bird
remote port on
back side of
faceplate
Red and black wires
HermitCrab
attached to "24
communications cable
VAC" terminals
attached to Rain Bird
remote connector
Red and black wires attached
to "24 VAC" terminals
Page 13
