Cypress Envirosystems PT-800-HUSB Operação e manutenção - Página 4
Procurar online ou descarregar pdf Operação e manutenção para Termostato Cypress Envirosystems PT-800-HUSB. Cypress Envirosystems PT-800-HUSB 10 páginas.

4.2.4
Check the battery
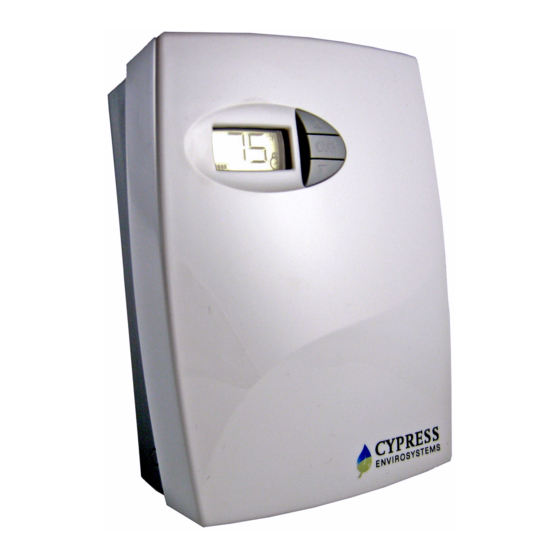
1. The battery level is displayed on the WPT LCD in the bottom left corner. There is a
battery icon with 4 bars.
4.2.5
Lock or unlock the WPT buttons
1. To lock the buttons on the WPT, the keypad lock command can be sent using the
GBC or at the WPT. To lock the keypad at the WPT, press the up and down
buttons at the same time. You will temporarily see "LC" on the display to indicate
the keys are locked.
2. To unlock the keypad on the WPT, press the up and down buttons at the same
time. You will temporarily see "UC" on the display to indicate the keys are now
unlocked.
4.3
From the Cypress Envirosystems web application
4.3.1
Change the setpoint for a single WPT or group of WPTs
1. Open the Cypress WPT web application. You will see the main Zone Monitor.
2. On the second row of tabs you will see "Change Setpoint". Click on the tab to
open.
3. From the node list on the left, click to select the individual WPT or node group you
wish to change.
4. You should then see the current setpoint on the right. Enter the new setpoint you
want and then click on "Update". You should see a confirmation window pop-up
afterwards.
4.3.2
Add or remove a WPT to/from an existing group
1. From the web application, click on "Setup" on the top row of tabs (next to "Zone
Monitor").
2. From the second row of tabs, click on "Node Group"
3. The available node groups are listed in the table on the bottom. Select the node
group you wish to edit by clicking on "Edit" next to the "NodeGroupName".
4. Once you click on "Edit", you will notice the group name becomes bold. Secondly,
the nodes in that group will be populated in the "Selected Nodes" section. The
"Available Nodes" lists which nodes can be added to the group. Select the nodes
you wish to add (from the "Available Nodes" list) or remove (from the "Selected
Nodes" list) and click the corresponding arrow. The right arrow adds nodes while
the left arrow removes nodes. You can hold down "Control" or Shift" to select
multiple nodes.
5. Click "Update" when you are done to save.
4.3.3
Create a new WPT group
1. Open the web application and click on "Setup". Navigate to the secondary tab
"Node Group".
2. Under the "Node Group Name", enter the name you wish to give to the new WPT
group.
3. Under the "Remarks", enter a short description or reason for the group.
WPT Operations and Maintenance
Document No. 910-00028-01, Rev 1
Page 4 of 10
