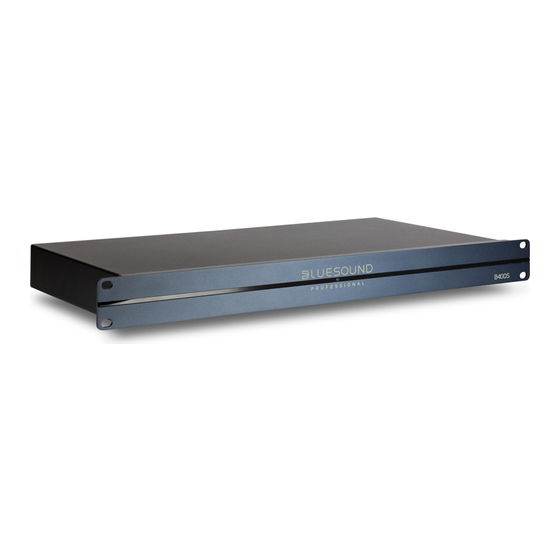
Bluesound B400S Manual do Proprietário - Página 6
Procurar online ou descarregar pdf Manual do Proprietário para Leitor multimédia Bluesound B400S. Bluesound B400S 10 páginas. 4 zone
IDENTIFICATION OF CONTROLS
5 LAN/USB
LAN
• LAN connection must be setup for wired connection to be
established. Set up a Wired Ethernet broadband router with
broadband internet connection. Your router or home network
should have a built-in DHCP server to consummate the
connection.
• Using a standard straight-through Ethernet cable (not supplied),
connect one end of the Ethernet cable to the LAN port of your
wired Ethernet broadband router and the other end to B160's
LAN port.
NOTES
• Bluesound Professional is not responsible for any malfunction of the
B400S and/or the internet connection due to communication errors
or malfunctions associated with your broadband internet connection
or other connected equipment. Contact your Internet Service Provider
(ISP) for assistance or the service bureau of your other equipment.
• Contact your ISP for policies, charges, content restrictions, service
limitations, bandwidth, repair and other related issues pertinent to
internet connectivity.
USB
• Connect to this USB port USB mass storage devices formatted as
FAT32, NTFS or Linux ext4. The connected USB device appears
as a Local Source (USB) in the BluOS App.
• Access and playback music stored in the connected USB device
by selecting "USB" from the BluOS App
6 RESET
• Use the RESET button to switch B400S from operating mode to
standby mode.
Switch from operating mode to standby mode: While at
operating mode, press and hold RESET button until the
illuminated blue LED status indicator turns off. B400S is not
accessible via BluOS app while at standby mode.
Switch from standby mode to operating mode: While at standby
mode, short press RESET button – LED status indicator will turn
red to flashing green if there is no wired internet connection or
turn to red, flashing green and then solid blue with wired internet
connection.
• Use the RESET button to restore B400S to its factory default
settings.
• Factory Reset is recommended if your B400S is not functioning
or internet firmware upgrade has failed. All customization,
configuration, file shares and saved playlists will be lost. They
have to be re-created once factory reset is completed.
6
FACTORY RESET PROCEDURE
a Disconnect AC power cord's plug from the mains power outlet.
b Press and hold rear panel RESET button and while doing so
reconnect the AC power cord's plug to the mains power outlet.
c The front LED indicator turns red, immediately turns green and
then back to red - do not release hold of the RESET button.
d After about 30 seconds of holding down the RESET button, the
front LED indicator blinks red.
e Release the RESET button as soon as the front LED indicator
blinks red.
f
Factory reset is completed once the front LED indicator turns
solid blue.
IMPORTANT NOTE
Releasing the RESET button at any time before the front LED
indicator starts flashing red will cancel the factory reset and leave the
B400S at Upgrade Mode. Just start again the procedure for Factory
Reset.
7 SERVICE
• These USB port and tact switch are for servicing purposes only.
Not for consumer use.
8 +12V TRIGGER (ON/OFF)
• The settings of +12V TRIGGER (ON/OFF) together with +12V
TRIGGER (IN) (item 9) affect the manner on how the B400S is
powered up.
• Slide the +12V TRIGGER (ON/OFF) switch to OFF for the B400S
to be powered up normally. This is the default setting. At OFF
setting, +12V TRIGGER OUT will output 12V when B400S is at
operating mode and 0V when it is at standby mode or powered
OFF.
• At ON setting and with the +12V TRIGGER IN of the B400S
connected to compatible external equipment that is equipped
with a +12V TRIGGER output, the B400S can be switched
remotely from standby mode to operating mode and vice-versa.
With +12V TRIGGER (ON/OFF) switch set to ON, the B400S can
only be powered up by the +12V TRIGGER source.