CO2 Meter RAD-0002 Руководство по эксплуатации - Страница 5
Просмотреть онлайн или скачать pdf Руководство по эксплуатации для Монитор CO2 Meter RAD-0002. CO2 Meter RAD-0002 14 страниц. Oxygen monitor, remote oxygen storage safety system
Также для CO2 Meter RAD-0002: Руководство по эксплуатации (2 страниц)
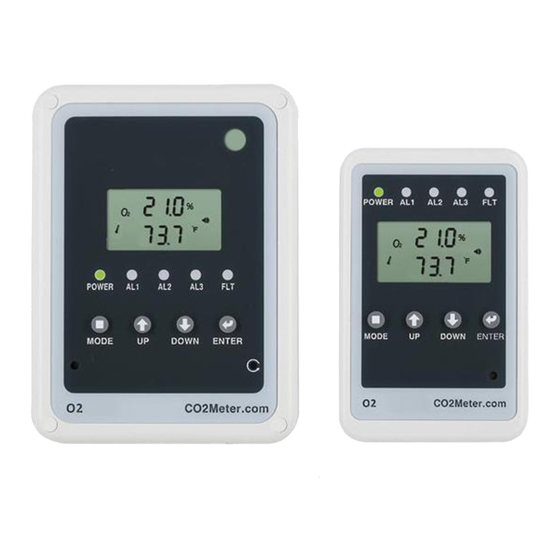
5. RDU (Remote Display Unit)
The RDU should be placed outside the enclosed area (typically next to a door) to warn users if
the oxygen level inside the enclosed area have changed. The RDU is controlled and powered
by the SEU. A strobe may be attached to the RDU.
All visual and buzzer alarms on the SEU are duplicated on the RD. The SEU only has the
"DIAG" function to test the communication between the SEU and RDU (see 10.3). All other
functions or settings must be changed on the SEU.
6. Strobes
Strobes are add-on visible alarms. One strobe can be connected to the RDU and one to the
SEU. If the oxygen level goes below Alarm Level1, the strobes will flash. The frequency of the
flash cannot be changed.
7. Power
The RAD-0002 comes pre-wired with a 12V power supply that plugs in to a 120-240VAC wall
outlet. The 12V power supply can be removed and 24VDC can be wired directly to the SEU
through the terminal block. 24VAC must be converted to 24VDC for the monitor to operate.
8. Installation
8. Installation
1.
First, choose a suitable location near a wall outlet to install the main sensor unit or (SEU). You
should use one of the mounting brackets to screw into the wall with the four screws that are
provided in the mounting hardware packet.
2.
Next, once the mounting bracket is secure to the wall, and all screws are flush, slide the main
sensor unit or (SEU) on the mounting bracket, ensuring they are connected tightly. Please note,
that the main SEU should be mounted near stored inert gases such as Nitrogen, Argon or others.
3.
Once you have secured your main SEU, you will repeat the step #1. and install the second
mounting bracket with appropriate mounting screws and ensure that the second mounting bracket
be placed in a suitable location outside the monitored space and placed at eye level for easy
reference.
4.
Next, you should have your second mounting bracket secured and ready to slide the Remote
Display Unit or (RDU) onto the panel holder.
(Mounted 60-72 inches from the floor)
4