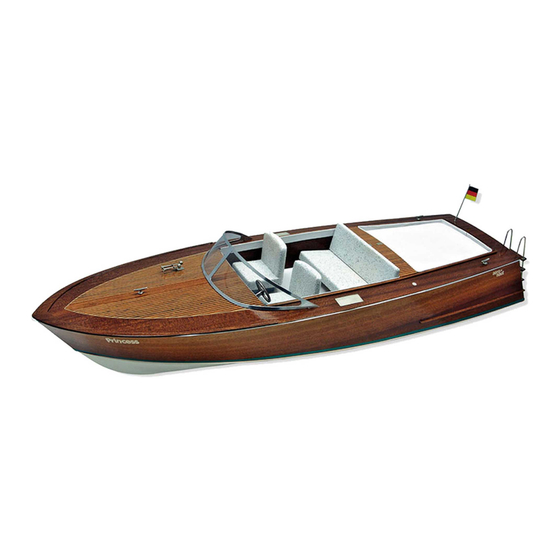
aero-naut Princess Руководство по эксплуатации - Страница 15
Просмотреть онлайн или скачать pdf Руководство по эксплуатации для Игрушка aero-naut Princess. aero-naut Princess 17 страниц. 3081/00

95
25
97
Speed
Controller
Motor
RC-
Reciver
96
98
89
90
88
92
91
Servo
Drive battery
50
Sand the windscreen frame 95 and curve it
to shape. Bend the three retaining tongues
so that they can be inserted vertically in the
slots in the deck. Glue the windscreen 96 to
the frame.
51
Glue the rubbing strake 97 to the transom
25 at the rear of the hull, at a point 70 mm
below the deck; you will need to trim the
strake 97 to line up neatly with both sides
of the hull. The lateral rubbing strakes 98
can now be glued to the sides so that they
overlap both ends of the strake 96. At this
stage the entire boat should be given
several coats of clear waterproof lacquer
until a smooth, glossy surface is obtained.
52
Insert the windscreen retaining tongues in
the slots in the deck, and bend the tabs
over slightly under the deck to secure the
screen.
92
53
The bathing ladder 92 is bent to
shape from the German silver rod
supplied. Fit the bathing ladder
treads 91, each with two rosettes
93 on top. Drill 2.5 mm Ø holes
in the transom at the marked
points, and glue the bathing
ladder in place, taking care to
make the joints waterproof. Glue
the two-part truck (89 + 90) to
the tip of the flagpole 88.
54
Overview of the internal components:
