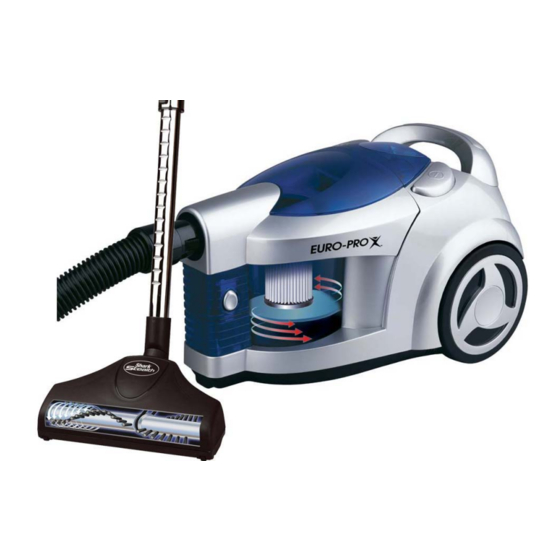
Euro-Pro SHARK PURSUIT EP724 Руководство пользователя - Страница 6
Просмотреть онлайн или скачать pdf Руководство пользователя для Пылесос Euro-Pro SHARK PURSUIT EP724. Euro-Pro SHARK PURSUIT EP724 6 страниц. Bagless cyclonic canister

OPERATING INSTRUCTIONS
Crevice Tool and Dusting Brush
1.
Crevice Tool with Brush
For radiators, crevices,
corners, baseboards and
between cushions.
2.
Upholstery Brush
The dusting brush is used
for the furniture
Using your Vacuum
Note:
Once all attachments are in
place, unwind a sufficient length
of cable and insert the plug into
the wall outlet. A yellow mark on
the power cord shows the ideal
cable length. Don't pull the power
cord beyond the red mark.
1. Insert the power plug into the wall
outlet.
2. Press the Power On/Off button
located on the unit to turn the
vacuum cleaner "On".
3. To rewind the power cord, press the
cord rewind button with one hand
and hold the plug of the power cord
with the other hand to ensure that it
does not whip causing damage or
injury.
Motor Thermostat
Important:
This vacuum cleaner is
equipped with a motor protective
thermostat. If for some reason your
vacuum overheats, the thermostat will
automatically turn the unit off. Should this
occur, unplug the vacuum from the wall
outlet and turn off the switch. Empty the
dust cup, "TapClean" the dust cup filter
and check for blockages in hose and
suction inlet. Allow the unit to cool for a
minimum of 45 minimum prior to
restarting the unit. To restart, re-plug the
vacuum into the wall socket and turn the
switch back on
5
OPERATING INSTRUCTIONS
Removing & Cleaning the
Rinseable "TapClean" HEPA
Dust Cup Filter
Warning:
Always unplug the unit from
electrical outlet before removing the Dust
Cup (container).
1. Push the Power
On/Off button to
"Off" and
disconnect the
power cord from
the wall outlet.
2. Remove the
flexible hose.
3. Push the dust
cup cover release
button located
on the front
side of
the unit (see illustration) and lift
the cover up.
4. Hold the dust cup by the handle
and lift it up out of the vacuum
5. Hold dust cup over a waste
basket (garbage can), lift cover
and then depress the trap door
release button to open the dust
cup. Dispose of the dust inside.
(See illustrations below.)
Note: If dust is tightly packed and
difficult to remove, tap the side of
the dust cup lightly against the
side of the waste basket (garbage
can).
Lift cover, then depress button
to open trap door
6. To remove the
Rinseable "TapClean"
HEPA dust cup filter
from the dust cup,
hold the filter from
the tab at the top
of it and lift. See
illustration at right.
7. After you have removed the
Rinseable "TapClean" HEPA dust
cup filter from the dust cup, separate
the debris screen from the HEPA filter
cartridge by holding the top rim of the
filter and twisting the debris screen
counterclockwise to unlock the debris
screen from the filter. Then lift the
debris screen to remove.
8. Rinse the debris screen under the
faucet until clean. Allow to air dry or
dry with a clean dish towel. Do NOT
wash in dishwasher.
9. To replace the debris screen onto the
filter, slip the debris screen over the
filter and twist clockwise to lock in
.
place.
Warning
After each Use - Always
:
remove the Rinseable "TapClean" HEPA
Filter from the Dust Cup, then vigorously
"TapClean" HEPA Filter until no more
dust can be removed.
Important:
When "TapCleaning" the
HEPA filter, hold the HEPA filter from the
top rim and tap ONLY the bottom rim
against the side of the waste container.
NEVER tap directly on the pleated folds of
the HEPA filter.
Bottom Rim
IMPORTANT, Please Note : The
Rinseable "TapClean" HEPA Dust Cup
Filter will stop most of the tiniest dust
particles and airborne allergens from re-
entering the air you breathe. In fact it
stops 99.97% of all particles as small as
0.3 microns - many times smaller than a
human hair!!! Because of this incredible
filtration performance, the HEPA Dust Cup
Filter will quickly accumulate dirt inside
the white filter folds, many fine dust
particles that are difficult to see but which
will eventually block or reduce your
suction power - if not cleaned properly.
Clean the HEPA Filter as described in this
section, then reconnect unit and proceed
with vacuuming.)
6
Top Rim
