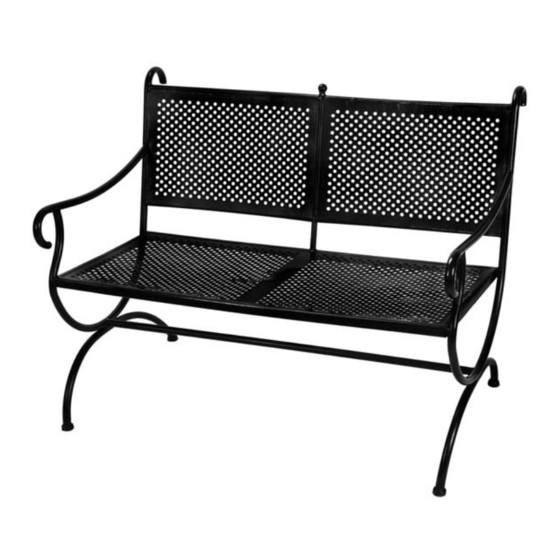
Astonica 50104289 Руководство по эксплуатации - Страница 2
Просмотреть онлайн или скачать pdf Руководство по эксплуатации для Внутренняя отделка Astonica 50104289. Astonica 50104289 2 страницы. Flynn mesh bench

PARTS & HARDWARE LIST
PART #
DESCRIPTION
A
Bench Back
B
Seat
C
Right Leg
D
Left Leg
E
6m x 32 Bolt
F
6m x 15 Bolt
G
Leg Brace
H
Hex Key
I
Nut
J
Nut Cap
K
Hex Wrench
Parts Detail
A
E
F
G
Carefully remove the contents from the package. If any parts are missing do not
attempt to use the product until they have been obtained and correctly installed.
NOTE: This product is intended for residential, non-commercial use.
QUANTITY
C
B
H
J
I
1
CAUTION: Do not over tighten fasteners.
1
1
1. (SEE FIGURE 1) Align the holes in seat (B) with
lower holes in the right leg (C). Secure the leg
1
to the seat using 6m x 32 bolt (E). Do not
9
fully tighten bolts.
4
2. Repeat the first step with left leg (D).
1
1
1
1
1
3. (SEE FIGURE 2) Align the holes in seat back
(A) to the upper holes in the right and left legs
(C,D). Secure the seat back to the legs using
6m x 32 bolts (E). Secure the middle of the
seat back to the seat using 6m x 32 bolt (E)
and nut (I) tighten with hex wrench (K). Install
nut cap (J) on exposed nut (I). Do not fully
D
tighten other bolts.
4. (SEE FIGURE 3) Place the leg brace (G) between
the lower part of the right and left legs (C,D).
Align the holes in the brace to the holes in the
legs and secure with 6m x 15 bolt (F). Do not
fully tighten bolts.
5. The legs should sit flat. If the bench rocks,
adjust the bench by moving the arms of the
legs up or down until all four feet of the legs
are flat. Tighten all bolts.
ASSEMBLY INSTRUCTIONS
Figure 1
C
E
E
Figure 2
E
C
E
Figure 3
C
D
B
E
E
A
D
E
K
I J
E
E
D
F
G
F
F
F
