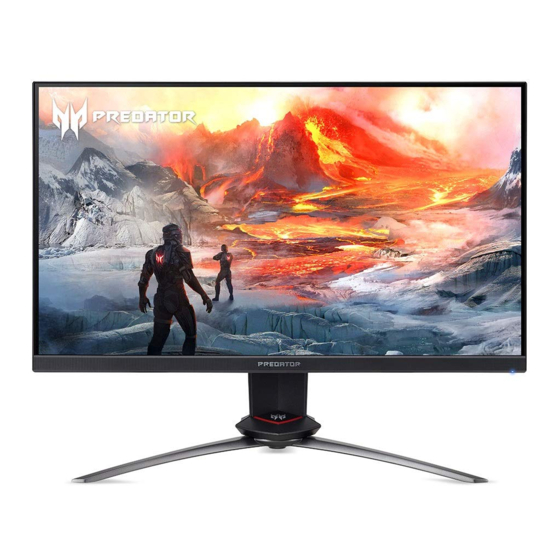
Acer XB253Q Руководство по расширению жизненного цикла - Страница 10
Просмотреть онлайн или скачать pdf Руководство по расширению жизненного цикла для Монитор Acer XB253Q. Acer XB253Q 15 страниц.
Также для Acer XB253Q: Руководство пользователя (32 страниц), Руководство пользователя (32 страниц)

Preparation before assemble:
1.Clean the room for work
2.Identify the area for material
3.Prepare the implement, equipment, materials as bellow:
1) working table
Screw-driver: Philips-head screwdriver, Hex-head screwdriver
2)
3) Knife
4) Glove
5) Cleaning cloth
6) ESD protection
After unplugging the power cord, the power board still have power energe. Please pay attention when
disassembling/assembling.
S1
Assemble I/F BD and
P/BD from SHD.
PICTURE 1
P/BD
I/F BD
S2
Assemble Panel to MF
PICTURE 1
4.2 Assembly Procedures
Before Disassembling & Assembling, monitor need to be put on the sponge and the
Insulation glove must be wore during the process.
Put the SHD on the worktable. Locate the P/BD into the SHD.
Insert FFC LVDS, P/BD wire and USB wire to the I/F BD.
Locate the I/F BD into the SHD as picture 2.
Insert USB wire to USB-BD and locate the USB-BD into the SHD; then lock 7 screws as
picture 3.
Lock 1 screw and assemble the Mylar on the SHD as the picture 4.
PICTURE 4
Take the Panel and insert lamp wire to panel marked as picture 1.
Assemble the MF to the panel and lock 9 screws to the MF as picture 2.
Stick 1 piece of adhesive tape on the little connector of lamp wire as picture 3.
PICTURE 2
PICTURE 2
10
ACER XB253Q
PICTURE 3
PICTURE 3
