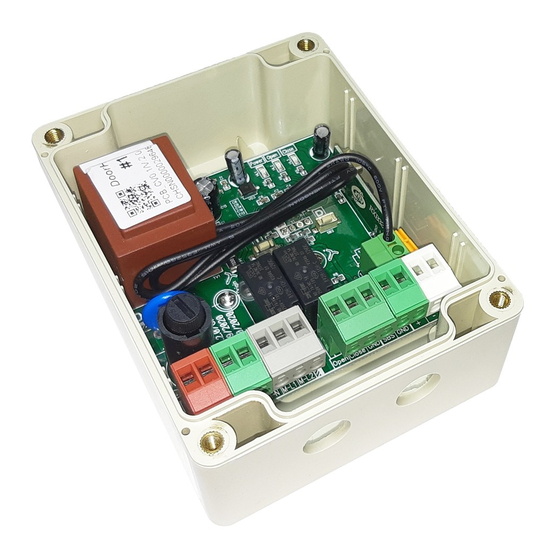
DoorHan CV01 Руководство пользователя - Страница 11
Просмотреть онлайн или скачать pdf Руководство пользователя для Блок управления DoorHan CV01. DoorHan CV01 12 страниц.
Также для DoorHan CV01: Руководство по установке и эксплуатации (4 страниц), Руководство (8 страниц)

5.5. TO PROGRAM DOORHAN REMOTE CONTROLS WITH MULTI-CHANNEL REMOTE CONTROL
1. Press the button located on the rear side of a DoorHan multi-channel remote. This button switches the control board to the
remote control recording mode ("Close" indicator lights up) provided that this remote control was previously recorded in the
control board.
2. On a new remote control press twice the button that you wish to control the operator or other device. The "Open" indicator will
flash once to confirm that the receiver has learned the remote control code.
5.6. TO DELETE ONE REMOTE CONTROL FROM RECEIVER MEMORY
To delete one particular remote control press and hold the "P" button till the "Close" indicator lights up. Then press twice the
button on the remote control which you want to clear from the receiver memory. If the removal was successful, the shutters will
make two short movements.
5.7. TO DELETE ALL REMOTE CONTROLS FROM RECEIVER MEMORY
To delete all remote controls from the receiver memory press and hold the recording button for about 10–12 sec till the "Close"
indicator will light up and go off indicating all remote controls were deleted from the receiver memory.
1
3
4
2
6. SAFETY RULES
1. Only trained, qualified and authorized individuals are to install and service the control unit in accordance with safety rules.
2. Never install the control unit near heating devices. The distance between the control unit and the heating device should exceed
1 meter.
3. Should any malfunction occur during operation switch the device off of the power supply network and call a technician.
4. The control unit has no fixed power cord so connect it to the mains using automatic switch with a distance between adjacent
contacts of at least 3 mm. It is recommended to use a two-pole 10 A automatic device.
1
1
3
4
2
2
1
2
SAFETY RULES
11
