Canon PIXMA MP610 Series Руководство по эксплуатации - Страница 4

Просмотреть онлайн или скачать pdf Руководство по эксплуатации для Принтер "все в одном Canon PIXMA MP610 Series. Canon PIXMA MP610 Series 45 страниц. All-in-one photo inkjet printer
Также для Canon PIXMA MP610 Series: Начните здесь (2 страниц), Дополнительное руководство (6 страниц), Брошюра и технические характеристики (2 страниц), Краткое руководство по эксплуатации (40 страниц), Краткое руководство по эксплуатации (2 страниц)
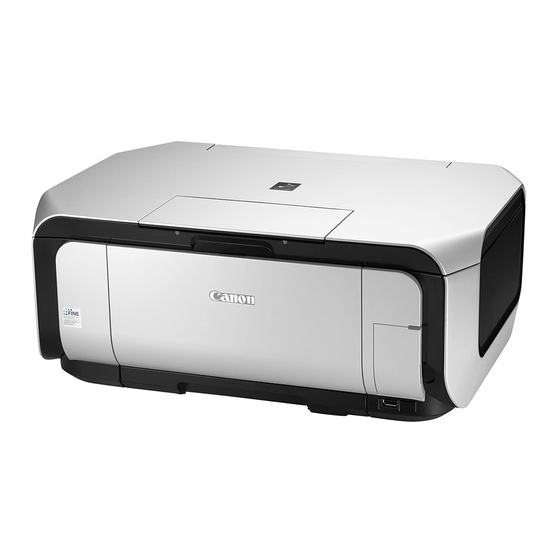
Canon PIXMA MP610 Series Руководство по эксплуатации
Platen glass
protection sheet
(document pressure
plate sheet)
position adjustment
LF / Eject
correction
*1: Only for CD / DVD printing supported regions.
- DO NOT loosen the red screws at both ends of the carriage shaft, securing the print head position, as they are
not re-adjustable.
- The red screws securing the paper feed motor may be loosened only at replacement of the paper feed motor
unit.
- For the automatic print head alignment, use Matte Photo Paper (MP-101), which is packed with the machine
before shipment. If Matte Photo Paper (MP-101) is not available, perform manual print head alignment
using plain paper.
(2) Periodic maintenance
No periodic maintenance is necessary.
(3) Periodic replacement parts
There are no parts in this machine that require periodic replacement by a service engineer.
(4) Replacement consumables
There are no consumables that require replacement by a service engineer.

1-2. Customer Maintenance

Adjustment
Automatic print
- At print head replacement
head alignment
- When print quality is not satisfying (uneven
printing, etc.)
Manual print head
- At print head replacement
alignment
- When print quality is not satisfying (uneven
printing, etc.)
Print head cleaning When print quality is not satisfying.
Print head deep
When print quality is not satisfying, and not
- At protection sheet
replacement
- At protection sheet frame
replacement
- At scanner unit replacement
- At logic board replacement
- At feed roller ass'y
replacement
- At logic board replacement
- At platen unit replacement
Timing
To maintain scanning accuracy,
hold the sheet with the long side
down, then fit its lower right
corner to the platen glass
reference mark (front right).
To correct line feeding (LF
roller diameter).
To correct line feeding (eject
roller diameter).
Purpose
To ensure accurate
dot placement.
To ensure accurate
dot placement.
To improve nozzle
conditions.
To improve nozzle
2 / 43
mode.
None.
1 min.
None.
5 min.
Perform in the service
(LF
mode.
correction
and Eject
correction
None.
is
Perform in the service
performed
mode.
at the same
time.)
Approx.
Tool
- Machine
10min. (Use
buttons
MP-101.)
- Matte Photo
Paper (MP-
101)
- Computer (MP
driver)
- Machine
13 min.
buttons
- Computer (MP
driver)
- Machine
1 min.
buttons
- Computer (MP
driver)
- Machine
2 min.
time