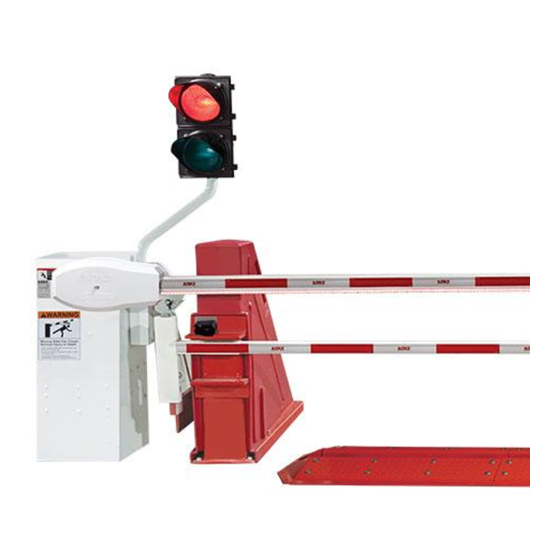
DoorKing 1620 Series Руководство по установке - Страница 10
Просмотреть онлайн или скачать pdf Руководство по установке для Системы управления DoorKing 1620 Series. DoorKing 1620 Series 16 страниц. Lane barrier
Также для DoorKing 1620 Series: Руководство по установке (20 страниц)

Install Octagon Arm
Install Arm Cover
IMPORTANT: Wire harness MUST
remain clear of the rotating arm and
the arm cover to avoid wire chaffing.
Use supplied adhesive
zip tie to secure harness
to bottom of bracket.
Plug in reverse edge.
Use bottom hole on arm bracket to secure cable grip.
IMPORTANT: Allow slack in the wire harness between the
cable grips of at least 13" or more for the rotating arm.
1620-065-G-8-20
Install End Cap
Push a screwdriver
through the hole in the
bottom of cap to release
spring while pushing cap
S l i
d e
on. Keep pushing cap on
R e
v e r
until a "CLICK" is heard,
locking it in place.
Octagon
Arm
Reverse Edge
2
Install Wire Harness
IMPORTANT: Choose which side of
the operator the arm is mounted on,
remove knock-out and run wire
harness accordingly as shown.
N e
a r
S i d
e
O p
t i o n
K n
o c k
b l e
C a
p
G r i
1
Install Arm & Reverse Edge (REQUIRED)
Allow arm to protrude
about 1" past the end
of arm bracket. Make
sure arm cover fits
s e
E d
over arm.
g e
o n
A r m
Tip: Liquid soap will
help reverse edge
slide on easier.
b l e
F a r
C a
G r i
S i d
O p
e
t i o n
C a
G r i
K n
o c k
- O u
t
IMPORTANT: Allow slack in the
wire harness between the cable
grips of at least 13" or more
for the rotating arm.
- O u
t
1601 operator WITH
convenience open
CANNOT be USED.
7
Test hub UP and DOWN position
before installing arm bracket.
H u
A r m
B r a
c k e
t
p
UP
LOOP
b l e
p
3
Wiring
(1601-345)
1601-010
Keep wire
harness
clear of
all moving
DOWN
LOOP
parts.
Arm Relay Contacts
1 2 3 4 5 6 7 8
Terminal 9 - Yellow Reverse Edge
Terminal 14 - Yellow Reverse Edge
Black-
AC POWER
Red+
T r a
n s f
o r m
e r
P l u
g
Wiring Note: See page 12 for complete wiring.
Drawings NOT to scale.
b
TIME
DELAY
SW 1
POWER
SW 2
REVERSE
SENSITIVITY
C
NC
NO
NCNO
9
14
10 11 12 13
ON
UP
AUTO
DOWN
OFF
Power
C
Transformer
V D
1 2
