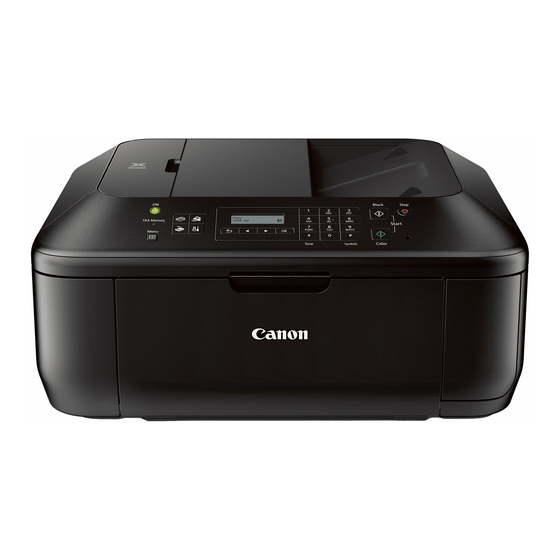
Canon PIXMA MX392 Руководство по началу работы
Просмотреть онлайн или скачать pdf Руководство по началу работы для Принтер "все в одном Canon PIXMA MX392. Canon PIXMA MX392 4 страницы. In default mode tel priority mode without an answering machine dsl/cable modem connection
Также для Canon PIXMA MX392: Руководство по настройке (2 страниц), Настройка (19 страниц), Руководство по настройке (16 страниц), Настройка (19 страниц)

ENGLISH
Canon Inkjet Office All-In-One
Canon Inkjet Equipo multifunción para oficina
Getting Started
Guía de inicio
Getting Help from Canon
Email Tech Support — www.usa.canon.com/support
Toll-Free Tech Support— 1-800-OK-CANON
This option provides live telephone technical support, free of
service charges, Monday-Friday (excluding holidays), during the
warranty period.
Telephone Device for the Deaf (TDD) support is available at
1-866-251-3752.
To perform setup, place the machine near the computer.
Para llevar a cabo la instalación, coloque el equipo cerca del ordenador.
In c l u d e d I t e m s
Check the included items.
Compruebe que se le han suministrado los siguientes elementos.
P r e p a r at i o n
Remove the tape.
Retire la cinta.
1
1
2
QT5-6041-V01
XXXXXXXX
ESPAÑOL
series
Read me first!
Keep me handy for future reference.
¡Léame en primer lugar!
Consérvelo a mano para utilizarlo
como referencia en el futuro.
Ayuda de Canon
Asistencia técnica por correo electrónico:
www.usa.canon.com/support
Asistencia técnica gratuita: 1-800-OK-CANON
Esta opción proporciona asistencia telefónica técnica personal, sin
cargo por servicio, de lunes a viernes (excepto festivos), durante
el periodo de garantía.
Se dispone de un dispositivo telefónico auxiliar para sordos (TDD)
en 1-866-251-3752.
E l e m e ntos
s u mi n i s tr a d os
P r e pa r a ti v o s
1
1 1
Open the Front Cover, the Paper
Output Tray, and the Document
Cover.
3
1 1
Abra la cubierta delantera, la
bandeja de salida del papel y la
cubierta de documentos.
© CANON INC. 2013
PRINTED IN XXXXXXXX
2
3
3 3
Remove the orange tape and protective material.
3 3
Retire la cinta naranja y el material de protección.
4
1
5
6
7
1
2
Back button
Botón Atrás (Back)
2 2
Open the Paper Output Cover.
2 2
Abra la tapa de salida del papel.
4 4
Close the Paper Output Cover and
the Document Cover.
2
4 4
Cierre la tapa de salida del papel y
la cubierta de documentos.
5 5
Connect the power cord.
Do not connect the USB cable yet.
5 5
Conecte el cable de alimentación.
No conecte aún el cable USB.
6 6
Press the ON button.
6 6
Pulse el botón ACTIVADO (ON).
7 7
Select your language, then press
the OK button.
To change the language setting, press
the Back button.
7 7
Seleccione su idioma y, a
continuación, pulse el botón OK.
Para cambiar el ajuste de idioma, pulse
el botón Atrás (Back).
