Astralpool QG50 Руководство пользователя - Страница 5
Просмотреть онлайн или скачать pdf Руководство пользователя для Пылесос для плавательных бассейнов Astralpool QG50. Astralpool QG50 16 страниц. Robotic pool cleaner

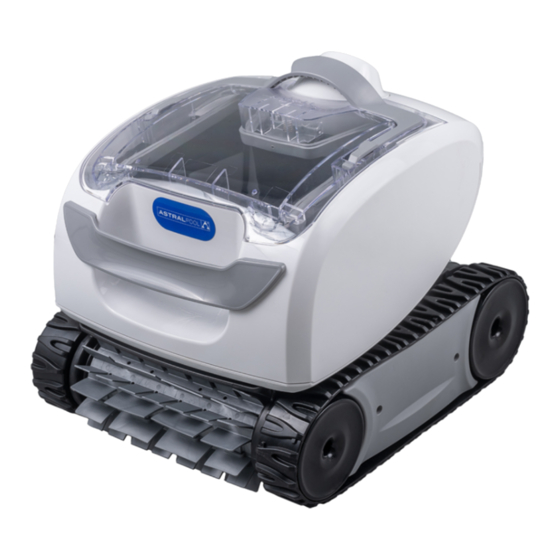
QG50 robotic cleaner
QG50 robotic cleaner
Section 2. Cleaner Specifications
The general specifications for the cleaner are as
follows:
Control box
supply voltage
Supply voltage
Installed load
Cable length
Cleaner size
(WxDxH)
Weight of Cleaner
Filtration
The cleaner is a double-insulated product. A double-
insulated electrical appliance is one which has been
designed in such a way that it does not require a
safety connection to ground. The basic requirement
for double-insulation is that no single failure can
result in dangerous voltage becoming exposed so
that it might cause an electric shock and that this is
achieved without relying on an earthed (grounded)
metal casing. This is achieved by having two (2) layers
of insulating material surrounding live parts or by
using reinforced insulation. Therefore, devices having
double-insulated construction, such as this cleaner, do
not use a grounded (three-prong) cord/plug.
Section 3. Assembly
3.1
Contents
The packaging should contain the following items:
•
Robotic cleaner and floating cable
•
Control unit
•
Manual, Quick Start Guide, and Warranty Card
•
Control unit base
•
Transport and storage caddy components:
a.
handle frame
b.
support blocks (x 2)
c.
wheels (x 2)
d.
wheel locking clips (x 2)
e.
wheel axle / hubcap (x 2)
f.
base unit
g.
cleaner hook
h.
caddy handle
owner's Manual
owner's Manual
100-240 VAC, 50-60 Hz
30 V DC
100 W max
16.5 M
37 x 29 x 30 cm
7 kg
All-purpose filter canister
x 2
B
A
F
Figure 1.
Transport Caddy Assembly Components
When unpacking the cleaner and its components:
•
Check to make sure each component is in the box.
•
Check cleaner and components for damage
during transport.
•
If there are any missing parts or damage, contact
Technical Support at 1300 186 875
3.2
Assemble the Transport Caddy
1.
Unscrew the handnut from the base.
Figure 2.
Remove Handnut from Base Unit
D
C
x 2
x 2
x 2
E
H
G
5
5
