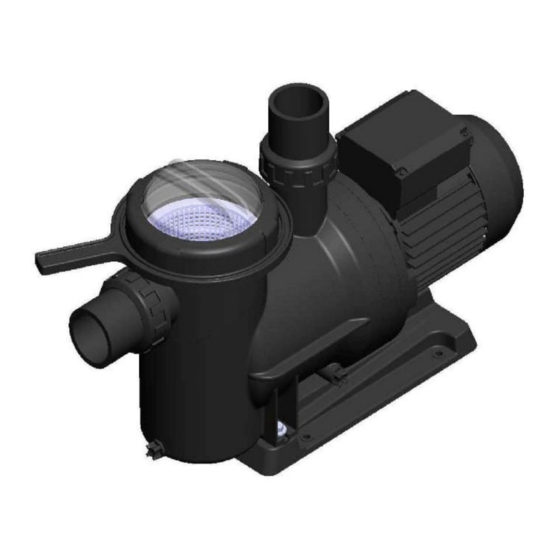
Astralpool COLUSA 70574 Руководство по установке и обслуживанию - Страница 8
Просмотреть онлайн или скачать pdf Руководство по установке и обслуживанию для Насос для плавательного бассейна Astralpool COLUSA 70574. Astralpool COLUSA 70574 10 страниц.

- Pump components that, due to their normal use, suffer wear and/or tear must be regularly replaced to ensure good
pump performance. The following table shows the perishables and/or consumables used in the pump and their
estimated working life.
The estimated working life for the above parts has been established in line with normal product working and
installation conditions. Follow the instructions in the installation manual to ensure the working life of the pump.
6. REMOVAL
- The motor unit can be removed from the pump body without having to disconnect the pump's suction and return
pipes.
- To remove the Motor unit from the pump body, remove the screws joining them together.
7. TROUBLESHOOTING
1. The pump is not primed
2. The pump releases only a small flow of water
3. The pump makes a noise
1 2 3 4 5 6
Installation and General Maintenance Manual
COMPONENT DESCRIPTION
O rings and general seals
Mechanical lock
Bearings
CAUSES
Air entering the suction pipe
Filter cap badly sealed
Inverted motor turning
Wrong voltage
Pre-filter blocked
Load loss in drainage
Pump incorrectly secured
Motor blocked
Increased temperature in the terminal
box due to electric arc
The thermal protection trips
Incorrect terminal box connections
- POOL PUMPS
ESTIMATED WORKING LIFE
1 year
1 year
1 year
4. The pump will not start
5. The motor is making a noise but will not start
6. The motor stops
SOLUTIONS
Check the condition of connections and seals
on the suction pipe
Clean the filter cap and check the condition of the rubber seal
Invert 2 power phases
Check the voltage on the characteristics plate and
that of the mains
Clean filter
Prevent parts from causing load loss wherever possible
Secure the pump correctly
Remove the motor and contact the technical service
Check the terminal box connections
Connect the cables correctly to the terminal boxes
Tighten the cable correctly to the terminal / Adapt the size of
the cable connection to the terminal box
7
