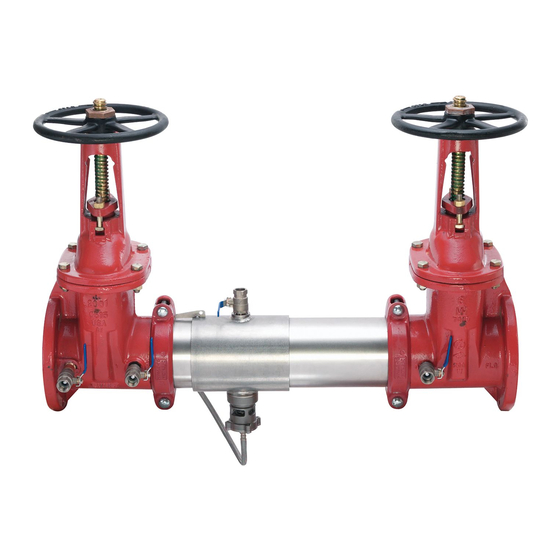
AMES 5000CIV Series Инструкции по установке
Просмотреть онлайн или скачать pdf Инструкции по установке для Блок управления AMES 5000CIV Series. AMES 5000CIV Series 2 страницы. Air gaps

Air Gap Installation Instructions
Ames Air Gap Drains are designed to collect water that is being discharged by the relief valve, due to
minor check valve fouling and/or line pressure fluctuations.
Note: Air Gap Drains are not designed to collect the full discharge capacity of the relief valve.
Series 400 and 500 Air Gaps
1
Sizes: 2
⁄
" - 10" (65 – 250mm)
2
1. Remove L shape bracket from one side of air gap drain.
2. Remove screw from one side of the splash guard.
3. Slide one half of the splash guard into the groove on the relief
valve body.
4. Slide the other half of the splash guard into the groove on the
relief valve body and reassemble the two parts together.
5. Reattach the L shape brackets long side up into slots in the
splash guard with screws.
6. Push as much of the sensing hose as possible into the air
gap drain funnel to prevent over spray.
Limited Warranty: Ames Company warrants each product to be free from defects in
material and workmanship under normal usage for a period of one year from the date of
original shipment. In the event of such defects within the warranty period, the Company
will, at its option, replace or recondition the product without charge. This shall constitute
the sole and exclusive remedy for breach of warranty, and the Company shall not be
responsible for any incidental, special or consequential damages, including without
limitation, lost profits or the cost of repairing or replacing other property which is
damaged if this product does not work properly, other costs resulting from labor charges,
delays, vandalism, negligence, fouling caused by foreign material, damage from adverse
water conditions, chemical, or any other circumstances over which the Company has no
control. This warranty shall be invalidated by any abuse, misuse, misapplication or
improper installation of the product. THIS WARRANTY IS IN LIEU OF ALL OTHER
WARRANTIES, EXPRESS OR IMPLIED, INCLUDING ANY IMPLIED WARRANTIES OF
MERCHANTABILITY OR FITNESS FOR A PARTICULAR PURPOSE. Any implied warranties
that are imposed by law are limited in duration to one year.
Some States do not allow limitations on how long an implied warranty lasts, and some
States do not allow the exclusion or limitation of incidental or consequential damages.
Therefore the above limitations may not apply to you. This Limited Warranty gives you
specific legal rights, and you may have other rights that vary from State to State. You
should consult applicable state laws to determine your rights.
Splash
Guard
www.amesfirewater.com
Series 4000SS and 5000SS Air Gaps
1
Sizes: 2
⁄
" - 10" (65 – 250mm)
2
Horizontal
1. Remove two of the relief valve capscrews 180° apart.
2. Remove the relief valve hose from fitting below inlet ball valve.
3. From the top of the air gap, thread the relief valve hose down
and out the slot.
1
4. Use
⁄
: - 20 UNC x 1" long stainless steel screws.
4
5. Reconnect relief valve hose to the fitting below the inlet ball
valve (Fig. 1).
Vertical
1. Detach the sensing line from the inlet ball valve and the elbow
on the relief valve.
2. Remove the elbows from the relief valve base.
3. Hang the Air Gap Drain on the body of the relief valve (Fig. 2).
4. Reinstall the elbow into the base of the relief valve to hold the
Air Gap Drain in place.
5. Install the rigid fitting end of the sensing line to the elbow on
the base of the relief valve and the swivel end to the fitting on
the ball valve.
Fig. 1
IS-A-AirGaps
Fig. 2
