Flycam HD-5000 Руководство по эксплуатации - Страница 8
Просмотреть онлайн или скачать pdf Руководство по эксплуатации для Аксессуары для фотоаппаратов Flycam HD-5000. Flycam HD-5000 11 страниц. Video stabilizer
Также для Flycam HD-5000: Руководство по эксплуатации (16 страниц), Руководство по сборке (10 страниц)
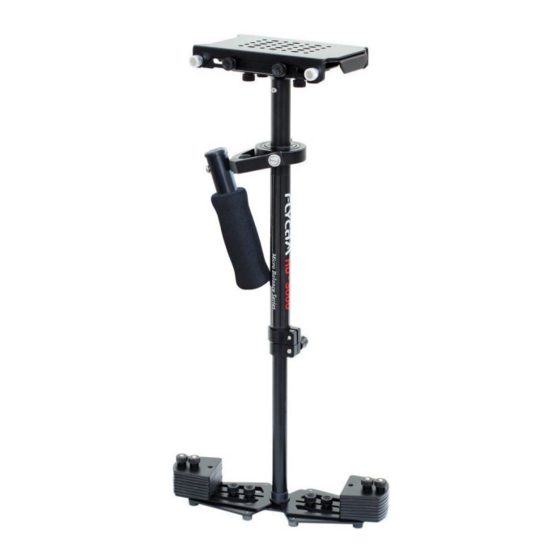
FLYCAM HD HA NDHELD VIDEO STABILIZER
A DROP TIME OF 2 - 2.5 SECONDS IS PREFERRED.
Note: Recheck the balance by looking at the sled. If necessary, use side screws and bottom
plate screws to make required adjustments.
B A L A N C I N G R E V I E W
Proper system balance can only be achieved once your camera is set up with appropriate
accessories ready for shooting. This means batteries, lenses, media cards, LCD viewfinder/
monitor, quick release plate, on-cam lights, and all the gear you will use for your recording
session.
Remove top plate of FLYCAM and line up your camera so that its center of gravity is as
close to the center of the plate as possible (basically hold the camera in your hand until it
feels balanced both left and right as well as forward and back).
Find hole in the plate that is as close to threaded tripod mount on your camera as possible
(while you are still holding your camera's center of gravity to the center of the plate).
Attach your camera (or quick release mount if you have one). Tighten it down so it won't
accidentally rotate.
Re-attach top plate to the FLYCAM . Center it, but don't worry about getting it absolutely
perfect yet.
Remove most of the weights from Base Platform, but leave one on each side.
Insert the center post as far as it will go and tighten so it won't slide out.
Hold the handle normally and turn the FLYCAM so that it is horizontal to the ground. Let go
of the stalk while keeping a firm grip on the handle and count how long it takes to return to
vertical again. You should be able to count a good, "One -one thousand, two-one
thousand", before it rights itself. With only two little weights it might take considerably
longer.
Add one pair of weights at a time and repeat the "horizontal to vertical" test until it falls at
the correct rate. It will probably not be perfect.
You'll get one that's too slow and then you'll add a pair and it will fall too fast. When that
happens, take off the last pair of weights that you added.
Tighten down the weights so they don't slide around.
To get count perfect, slightly lower the center post that attaches the Base Platform with the
weights until you get the "one-one thousand, two one thousand" count to the vertical
position.
Fine-tune the left-right, forward-backward balance. You will have to go back and forth
between the two directions to get the balance just right. Loosen the screw sets that allow
the sled to move left and right. Adjust the top plate so that it is centered and tighten down
the screws like you would a tire slowly and alternating side to side.
Repeat for "forward-backward" balancing.
8