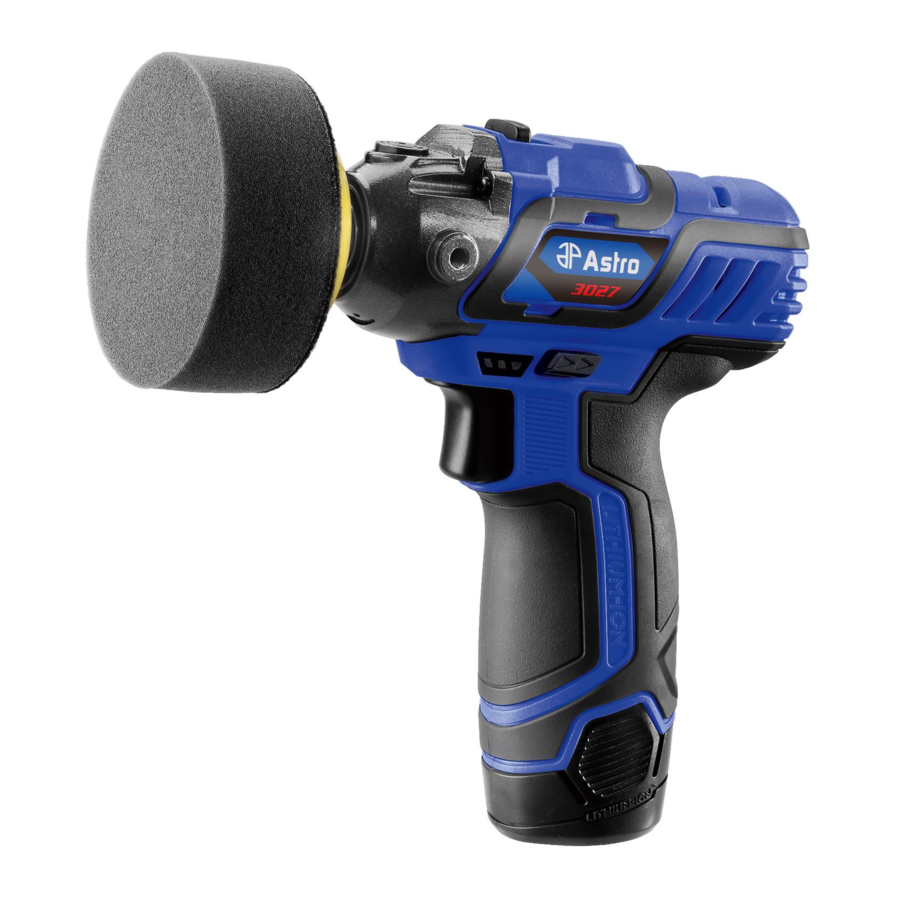
Astro Pneumatic 3027 Краткое руководство по эксплуатации - Страница 3
Просмотреть онлайн или скачать pdf Краткое руководство по эксплуатации для Сандер Astro Pneumatic 3027. Astro Pneumatic 3027 4 страницы. 12v mini cordless pistol polisher w/ 2 batteries

Model:
3027
BEFORE USE
Before turning on the 12v Polisher, read the following notes:
1. Charge the battery (8) with the provided charger (12). A fully discharged battery recharges in about one hour
depending on application.
2. Use only appropriate sized 3 in. or smaller, backing pads and accessories.
CHARGING THE BATTERY
1. Remove the battery from the tool by depressing both battery lock buttons (7) and pulling down.
2. Check that the power available corresponds to the rating plate on the charger.
3. Plug charger's power lead into top of battery. The red LED indicates that the battery is charging. Once charged,
the red LED turns off and the green LED stays on continuously.
4. During charging, it is normal for the battery to warm slightly. If you cannot charge the battery, check:
- That the socket has voltage.
- That the charger contacts are reliable.
- Verify the wiring between the transformer and power lead plug is undamaged.
- Finally, use a multimeter to verify the prescribed voltage is present at the end of the power lead.
OPERATING TIPS
• Maintain a firm grip on the power tool and position your body and arm to allow you to resist kickback forces.
• Always use the side handle (13) for maximum control over kickback or torque reaction during start-up.
• The side handle may be installed on either the right or left side of the gear case.
• Position the side handle in the location which offers best control and protection.
• To install, thread side handle into side handle socket and tighten securely.
INSTALLING BACKING PAD
1. Remove the battery (8). WARNING! Always remove the battery before changing or removing accessories.
2. Wipe the accessories and spindle (1) to remove dust and debris. Inspect the parts for damage. Replace if needed.
3. Press in the spindle lock (3) and thread the backing pad (2) into the spindle. Hand tighten clockwise securely.
4. To remove backing pad, remove the battery and reverse the procedure.
INSTALLING/REMOVING HOOK & LOOP POLISHING PADS
1. Remove the battery pack. WARNING! Always remove battery pack before changing or removing accessories.
2. To install, line up the polishing pad with the backing pad and press firmly onto the tool.
3. To remove, pull the polishing pad off of the backing pad.
NOTE: Always use side handle for better control. Position the side handle in the location which offers best
control and guard protection.
WARNING! Never use an accessory that has been dropped. Out-of-balance or damaged accessories
can mar workpiece, damage the tool, and cause stress that may cause accessory failure.
1. Remove the battery. Always remove the battery before changing or removing accessories.
2. Use a clamp, vise or other practical means to hold your work, freeing both hands to control the tool.
WARNING! Hold tool securely with both hands before starting the tool.
USE TIPS
1. After installing an accessory or beginning work, test the wheel by letting it spin for up to one
minute before engaging the work surface.
2. Allow accessory to come to full desired speed before beginning work.
3. Control pressure and surface contact between accessory and workpiece.
4. When finished, release trigger and make sure it comes to a complete stop before putting it down.
WARNING! Never bang accessory onto work. Too much pressure causes accessory failure or slows speed.
Product Type:
12V 3" MINI CORDLESS PISTOL POLISHER
W/ 2 BATTERIES
Page 3
