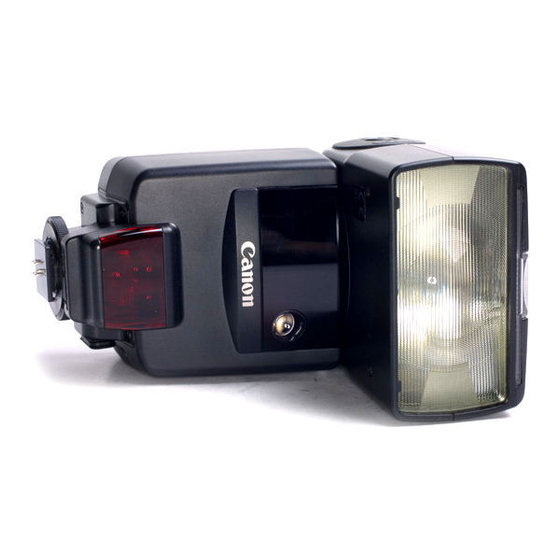
Canon 540EZ - Speedlite - Hot-shoe clip-on Flash Руководство - Страница 15
Просмотреть онлайн или скачать pdf Руководство для Объектив камеры Canon 540EZ - Speedlite - Hot-shoe clip-on Flash. Canon 540EZ - Speedlite - Hot-shoe clip-on Flash 36 страниц. Camera flash
Также для Canon 540EZ - Speedlite - Hot-shoe clip-on Flash: Книга инструкций (32 страниц), Каталог деталей (12 страниц), Книга инструкций (37 страниц), Руководство по эксплуатации (4 страниц), Книга инструкций (32 страниц)

5 Make sure the viewfinder's
shutter speed display is not
blinking and that the flash
charge indicator is lit, then
take the picture.
In low-light situations, the camera will set a slow shutter speed to ensure proper
background exposure. If a slow shutter speed is set, use a tripod to prevent cam¬
era shake and make sure the subject does not move during the exposure.
If the shutter speed blinks in the viewfinder, the background will be either overex¬
posed (if the X-sync shutter speed blinks) or underexposed (if 30" blinks). If this
occurs, adjust the aperture until the blinking stops.
Certain EOS cameras (EOS RT, EOS 10/1 Os, and EOS 5/A2/A2E) provide a cus¬
tom function (CF9) which automatically sets the shutter speed to the camera's
maximum synchronization speed (refer to chart on page 31) regardless of the
lighting conditions during aperture-priority AE flash photography.
3. Shutter-priority AE
Shutter-priority AE mode is useful for flash pictures of moving subjects
where different shutter speeds can provide different effects. After manual¬
ly selecting the desired shutter speed (between 30 sec. and the camera's
X-sync speed), the camera automatically sets the aperture value neces¬
sary to achieve proper background exposure. When the picture is taken,
the flash exposure is automatically controlled according to the TTL pro¬
gram based on the automatically-set aperture value.
"j
Set the camera's shooting mode to shutter-priority AE mode (Tv),
then set a desired shutter speed between 30 sec. and the camera's
X-sync speed.
2
Make sure the flash is set to
TTL mode, then cover the
subject with the viewfinder's
AF frame and press the shut¬
ter button halfway to focus the
subject.
3 Confirm that the distance from
the camera to the subject is
within the flash coupling dis¬
tance range displayed in the
LCD panel, make sure the
viewfinder's aperture value
display is not blinking and that
the flash charge indicator £
is lit, then take the picture.
If the aperture value blinks in the viewfinder, the background will be either over¬
exposed or underexposed. If this occurs, change the shutter speed until the blink¬
ing stops.
