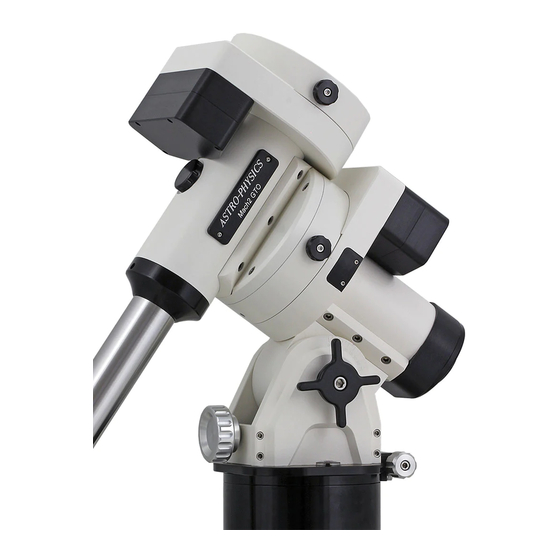
ASTRO-PHYSICS 900 German Equatorial Руководство - Страница 4
Просмотреть онлайн или скачать pdf Руководство для Аксессуары ASTRO-PHYSICS 900 German Equatorial. ASTRO-PHYSICS 900 German Equatorial 12 страниц. Polar alignment telescope and illuminator (pasill)
Также для ASTRO-PHYSICS 900 German Equatorial: Краткое руководство по эксплуатации (2 страниц), Руководство (3 страниц)

knob so that the altitude adjuster bar is positioned approximately in the middle of the threaded rod. You should see
about half of the threaded rod protruding from both sides of the altitude adjuster bar. This will allow you to move the
mount fully within the altitude range.
8. At the end of the threaded rod mentioned in the last step, you will see a small brass altitude adjuster thrust pad. This
is the part that will come in contact with the polar axis as you ease it back into position. Loosen the altitude-locking
knob (motor/gear side) and lower the polar axis so that it rests comfortably on this pad. The threaded rod should be
positioned at a right angle to the polar axis housing. Firmly tighten the altitude adjustment screws.
9. Turn the altitude adjustment knob to raise or lower the polar axis to your approximate observing latitude. Tighten the
altitude locking knobs with finger pressure only. You do not need to tighten with the hex key.
10. Firmly tighten both polar axis pivot screws with the hex key.
ATTACH PIER ADAPTER TO PIER POST: If you purchased the pier from Astro-Physics, the pier top adapter of the 900
is already attached to the top of the pier. If you are constructing your own pier or tripod, you will need to incorporate
this part. The pier adapter was designed to fit into an 8" x 0.125" wall tube. Use six screws to attach this part. With
the Astro-Physics pier, you can choose a "north" or "south" facing pier leg by orienting the pier adapter within the post.
ASSEMBLE PIER
Begin by assembling the portable pier at the
desired observing location. Take note which
direction is north.
1. Slide the three legs onto the nubs of the base
and rotate the assembly so that one of the legs
points toward north (or south, if this is your
preference).
2. Place the pier tube on the base, orienting the
center azimuth block directly over the leg that
is oriented to the north (south).
3. Attach the tension rods. The turnbuckles
should be drawn tight until the whole assembly
is stiff enough to support your weight without
movement.
ASSEMBLE POLAR AXIS ASSEMBLY TO PIER OR TRIPOD
In order to track the motion of astronomical objects, the polar axis must be positioned so that an imaginary line drawn
through the center of the axis points toward the celestial pole. At this stage of the assembly process, you want to
position the mount so that it points roughly north.
1. Remove the four hand knobs on the pier top adapter and keep them close at hand.
2. Prior to lifting the polar axis assembly into place, turn the fine azimuth adjustment knobs so that the space between
them is wide enough to allow the center azimuth block to fit easily between them. Ensure both pier top and polar
axis assembly mating surfaces are clean and free of dirt.
3. Place the polar axis assembly onto the pier so that the center azimuth block fits between the fine azimuth
adjustment knobs.
4. Move the base of the polar axis assembly so that the threaded holes of the pier top can be seen through each of the
four slots.
5. Thread the four hand knobs loosely in place. You will tighten these later after polar alignment.
- 4 -
