FlyingThingZ M1A1 Flying Tank Руководство по сборке - Страница 14
Просмотреть онлайн или скачать pdf Руководство по сборке для Игрушка FlyingThingZ M1A1 Flying Tank. FlyingThingZ M1A1 Flying Tank 20 страниц. A sport scale flying military tank
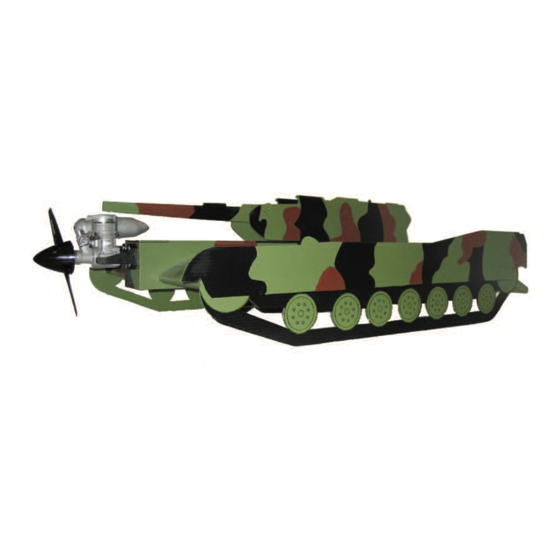
G3. Use a liberal amount of 30 minute epoxy on the wings cen-
ter cut out and the bottom of the fuselage. Slide the fuselage into
the wing until the back of the fuselage is flush with the back of the
wing center piece. Make sure the fuselage saddle is seated well on
the leading edge of the wing. Wipe up and excess epoxy before it
dries.
G4. Cut the two slit along the previously created 1/8" line on
the sides of the center cutout. Try to make the cut as centered as
possible. Do not remove the excess covering, it will fold into the
cutout and provide a snugger fit for the canon turret. Using a lib-
eral amount of epoxy, glue the tank turret into the wing core. Use
a level to assure a 90 degree angle.
G5. Lay out the servos as shown in the image above. Use a
dead center tool to make the pilot holes for the servo's self tapping
screws. Use your radio manufacturer's instructions on installing
the rubber grommets on your servos. Wrap your receiver in foam
and place into the rear servo tray opening. The battery is placed
in the compartment right behind the firewall.
14
G6. Scribe a center line on the front of the firewall. Center the
nose gear mounting brackets against your line and flush with the
bottom of the firewall. Use a dead center tool to create pilot holes
and mount using the provided self tapping screws.
G7. Center the motor mount on the scribed center line flush
against the nose gear brackets. Use a dead center tool create pilot
holes. Enlarge the pilot holes and install the motor mount using
the appropriately sized blind nuts, bolts and washers to suit your
motor mount. Drill out the two precut holes in the center cutout
of the motor mount for your fuel lines. The fuel tank goes right
behind your battery pack directly in front of the forward servo
tray. Wrap the fuel tank with foam rubber to prevent bubbles from
forming due to vibration.
G8. Use a 5/32" drill bit to clean out the cutout on the land-
ing gear block located under the wing. Drill only deep enough for
the 5/32" rod to fit. Use a dead center tool to make pilot holes
using the provided main gear mounting brackets as a guide.
Secure the main landing gear with the self tapping screws and
nylon brackets provided.