Cole Hersee 75920 Установка
Просмотреть онлайн или скачать pdf Установка для Переключатель Cole Hersee 75920. Cole Hersee 75920 2 страницы. Master disconnect switch
Также для Cole Hersee 75920: Краткое руководство по эксплуатации (2 страниц)
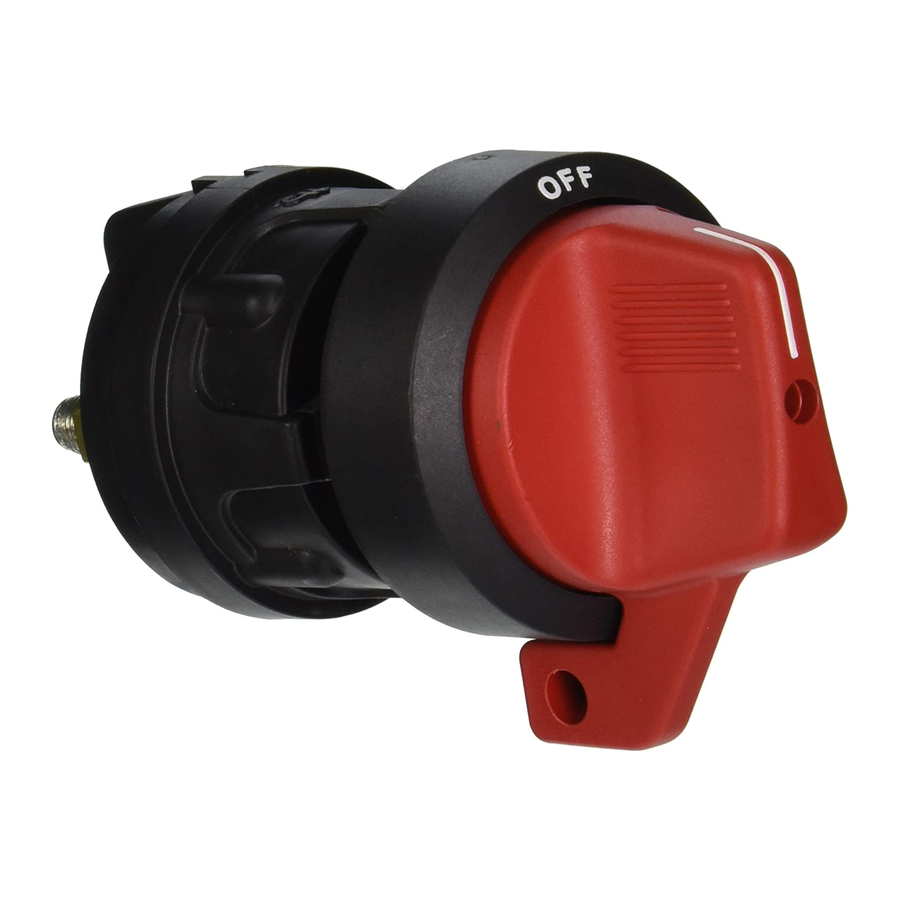
Master Disconnect Switch
75920
300A
12V DC
250A
24V DC
200A
36V DC
Connection Schematic
Mounting Pattern 1
Ø 13
[Ø20.6]
16
Mounting Pattern 2
Ø 13
[Ø20.6]
16
Mounting pattern 1 is the easiest to achieve, as it does not require a
panel punch. For additional mounting assurance, Mounting Pattern
2 also uses the flats on the mounting shaft to prevent rotation.
Ø 5
[Ø7.9]
16
Required for Switches
with Indexing Pin
0.813 [20.65]
0.813 [20.65]
Ø 5
[Ø7.9]
16
0.670 [17.02]
Installation
This product requires the use of the bezel. It supports the knob
and guides it during operation to assure long life and smooth
operation.
1. Open the attached hardware bag and check contents versus
the list on the next page.
2. Put one of the 3/4" hex nuts on the neck and then the 3/4"
lock washer. Make sure to run it down far enough to leave
space the get the neck through the panel.
3. Bring the switch in through the back of the panel making sure
to align the anti-rotation stud.
4. Adjust the mounting nut behind the panel until ½ - ¾" of the
threaded portion of the neck (not including the shaft) extends
through the panel.
5. Holding the switch in place, place the bezel over the neck and
align it to the anti-rotation pin.
6. Put the second mounting nut on the threaded neck and
tighten to 216 in-lbs maximum.
7. Line up the knob with the flat on the shaft, and press it in
place until it bottoms out.
8. Check to make sure that the lockout opening on the bezel and
the lockout opening on the knob line up so that a padlock
shackle can be placed through both in the off position. If this
is out of alignment, remove the knob and adjust the two
mounting nuts until you can align the bezel and knob.
9. Once satisfied with the fit of the knob use the 4-40 pan head
screw ( 2 in-lbs torque) to lock the handle in place. Then press
the plug into the hole with your fingers.
10. Remove the nuts and lock washers from the two 3/8" studs.
Make good contact!
Unlike many other Master Disconnects on the market,
the 75920 studs are permanently affixed to the base,
so you can remove all the hardware and use the entire stud.