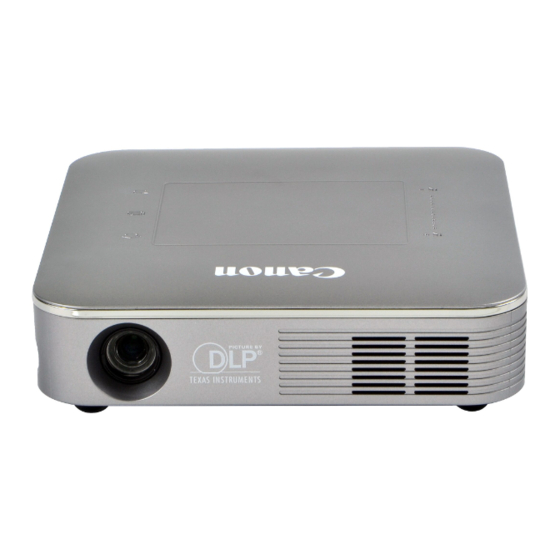
Canon PIXMA MP250 Начало работы - Страница 27
Просмотреть онлайн или скачать pdf Начало работы для Проектор Canon PIXMA MP250. Canon PIXMA MP250 32 страницы. Mini led projector
Также для Canon PIXMA MP250: Начало работы (24 страниц), Технические характеристики (2 страниц), Начало работы (36 страниц), Начало работы (36 страниц), Руководство (4 страниц), Руководство пользователя (35 страниц)

2
Start Solution Menu from the icon on the
desktop (Windows) or on the Dock (Macintosh),
then click One-Click to Photo Print.
Easy-PhotoPrint EX starts.
Inicie Solution Menu desde el icono del
escritorio (Windows) o del Dock (Macintosh)
y, a continuación, haga clic en Imprimir
fotografías con un clic (One-Click to
Photo Print).
Se iniciará Easy-PhotoPrint EX.
•
For details on starting Solution Menu, refer to "Solution Menu" on page 20.
•
For more information, refer to the on-screen manual: Advanced Guide.
•
Para obtener más información sobre cómo iniciar Solution Menu, consulte "Solution Menu" en la página 20.
•
Para obtener más información, consulte el manual en pantalla: Guía avanzada.
3
Select the image you want to print, then click
Layout/Print.
When a photo is selected, the number of copies is set to "1".
Seleccione la imagen que desee imprimir de una
carpeta y, a continuación, haga clic en Diseño/
Imprimir (Layout/Print).
Cuando se selecciona una fotografía, el número de copias se
establece en "1 ".
4
Click Print.
For Windows:
Printing will start.
For Macintosh:
Click Print on the Print dialog box to start printing.
Haga clic en Imprimir (Print).
En Windows:
comenzará la impresión.
En Macintosh:
haga clic en Imprimir (Print) del cuadro de diálogo Imprimir (Print) para que
comience la impresión.
