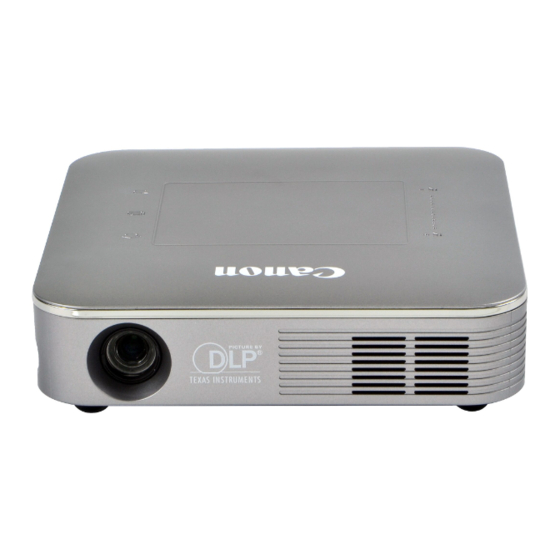
Canon PIXMA MP250 Начало работы - Страница 6
Просмотреть онлайн или скачать pdf Начало работы для Проектор Canon PIXMA MP250. Canon PIXMA MP250 36 страниц. Mini led projector
Также для Canon PIXMA MP250: Начало работы (32 страниц), Начало работы (24 страниц), Технические характеристики (2 страниц), Начало работы (36 страниц), Руководство (4 страниц), Руководство пользователя (35 страниц)

2
1
Open the Paper Output
Tray (A).
Ouvrez le bac de sortie
papier (A).
Öffnen Sie das
Papierausgabefach (A).
Aprire il vassoio di uscita
(A).
2
B
A
Lift the Scanning Unit (Cover) (B) and fix it with
the Scanning Unit Support (C).
Soulevez l'unité de numérisation (capot) (B)
et fixez-la à l'aide du support de l'unité de
numérisation (C).
Heben Sie das Scan-Modul (Abdeckung)
(B) an, und fixieren Sie es mit der Scan-
Modulstütze (C).
Sollevare l'unità di scansione (coperchio) (B)
e fissarlo utilizzando il supporto dell'unità
di scansione (C).
3
C
D
Pull the orange protective
tape (D) and remove the
protective material (E).
Retirez le ruban de protection
orange (D) puis l'emballage
de protection (E).
Ziehen Sie das orangefarbene
Klebeband (D) ab,
und entfernen Sie das
Schutzmaterial (E).
Tirare il nastro protettivo
arancione (D) e rimuovere
il materiale protettivo (E).
4
E
Lift the Scanning Unit (Cover)
slightly and fold the Scanning
Unit Support, then gently close
the Scanning Unit (Cover).
Soulevez légèrement l'unité de
numérisation (capot) et repliez le
support de l'unité de numérisation,
puis refermez doucement l'unité
de numérisation (capot).
Heben Sie anschließend das
Scan-Modul (Abdeckung) leicht
an, klappen Sie die Scan-
Modulstütze ein, und schließen
Sie dann vorsichtig das Scan-
Modul (Abdeckung).
Sollevare leggermente l'unità
di scansione (coperchio)
e ripiegare il supporto dell'unità
di scansione, quindi chiudere
delicatamente l'unità di
scansione (coperchio).
