Advance acoustic AP1000.50.03 Руководство по сборке, эксплуатации и техническому обслуживанию - Страница 14
Просмотреть онлайн или скачать pdf Руководство по сборке, эксплуатации и техническому обслуживанию для Пылесос Advance acoustic AP1000.50.03. Advance acoustic AP1000.50.03 20 страниц.

Instruction manual for integrated vacuum unit
7 START UP AND USE
Before proceeding to unit start up, it is opportune to check that the pipes are correctly and fi rmly fi xed
to it, and that electrical connections comply with the current law, as well as the electric system to which
it is connected.
Prepare an empty run to verify the functionality and then, before fi lling with fuel the storage tank, check
that there are no foreign bodies inside it.
Read all the manuals of the different components of the system before proceeding.
Remove the timer protective cap and turn the potentiometer anti-clockwise with a screwdriver, positioning
it on OFF mode.
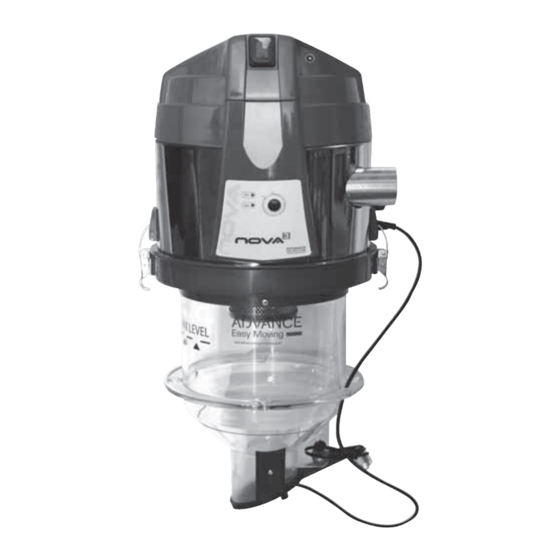
Place the main switch over the control panel to 1.
The green "POWER" led on the control panel lights up.
Turn the potentiometer slightly clockwise and wait for the central unit to begin operations and complete
a brief operating cycle.
Adjust the potentiometer at this point, so that the operation time of the central unit is suffi cient to fi ll the
transparent dispenser with fuel till the level indicated by the "MAX LEVEL" adhesive label.
After a few successful operating cycles, refi t the protective cap.
In the case of fi llings at a lower level there can be no consequences, but fi llings far superior to the
optimum level could cause defects and noise in vacuum unit functioning and occlusions in fuel transport
pipes.
It is therefore advisable to adjust the operating times properly, taking care to check them at least at each
refi lling of the fuel storage tank.
The potentiometer from OFF to 0 indicates vacuum off
Position 1 indicates active vacuum for about 30"
Position 2 indicates active vacuum for about 60"
Position 3 indicates active vacuum for about 90"
Now the vacuum unit is operational: an additional potentiometer adjustment may be necessary if you
change, even a little bit, the specifi c weight or type of the fuel which has to be transported. In these
cases, it is suffi cient to readjust the operating time of the vacuum unit so that it is appropriate to fi ll the
transparent fuel dispenser, at each cycle, to the level indicated by the "MAX LEVEL" adhesive.
If the unit will remain inoperative for a long time, place the light switch on 0 and remove the power supply.
14
3
31/05/2021 Rev:1.04
