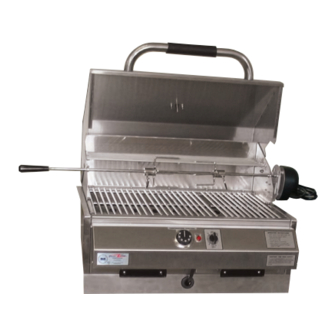
Electri-Chef 4400-EC-224 Руководство пользователя - Страница 9
Просмотреть онлайн или скачать pdf Руководство пользователя для гриль Electri-Chef 4400-EC-224. Electri-Chef 4400-EC-224 10 страниц. Flameless electric grills

4.2 Assembly Instructions
for Island Model (continued)
Step 3.2
Attaching the Lower Grill Flange to Island Grill
Island Lower Grill Flange
Notes
1. The Lower Grill Flange is attached to the power cord. There is no way of
removing the Lower Grill Flange without damaging it or the power cord.
2. Attach the Lower Grill Flange to the Island Grill as shown in diagram 1.a
with a phillips screwdriver, using the screws in the enclosed bag labeled
Lower Grill Flange Mounting Screws.
Diagram 1.a
1822 Industrial Blvd.
Temple, TX 76504
UL
MODEL
C
US
4400 EC
208/220 Volts at 20 AMP/4400 Watts
®
LISTED
336
Outdoor Use Only
E229895
2YF0
Outdoor Electric Grill
power cord
screws (3)
1822 Industrial Blvd.
Temple, TX 76504
UL
MODEL
C
US
208/220 Volts at 20 AMP/4400 Watts
®
4400 EC
LISTED
Outdoor Use Only
336
2YF0
Outdoor Electric Grill
E229895
power cord
11
Front View
Grill & Lower Grill Flange
Assembly
Front View
Grill & Lower Grill Flange
Attached
This section describes how to unpack your Electri-Chef
Step 1
Step 2
Step 3
CAUTION - FOR YOUR SAFETY
To ensure continued protection against risk
of electric shock, connect to properly grounded
outlets only. Disconnect from electric outlet
before cleaning or any service work is done
on unit
Shipment Inventory
Below is a complete list of grill components and hardware that you should
have received with your shipment. If you are missing any of the items listed
below, immediately contact the dealer from whom you purchased your grill or
contact Electri-Chef
A. Items in carton
CAUTION - FOR YOUR SAFETY
To ensure continued protection against risk
of electric shock, connect to properly grounded
outlets only. Disconnect from electric outlet
before cleaning or any service work is done
on unit
3.0 Unpacking & Assembly
for TT Models
A. Cut nylon straps holding carton.
B. Lift carton off grill.
C. Remove all foam packing.
D. Before continuing read Owner's Manual.
- Assembly
E. Remove grill from carton bottom.
F. Attach legs (4) on each corner of the grill body.
G. Remove all items from boxes or shipping enclosures.
H. Remove tape from grease tray.
I. Open grill hood and remove warming rack from corrugated sheet and remove
all other packing material from under cooking grids and stainless steel
heat plate.
Grills customer service at 1-800-442-7207
®
1. Grill body
2. One (1) Owner's Manual.
3. One (1) warming rack.
4. Four (4) legs.
5. Four (4) cooking grids.
No grill assembly is required for the
Model 4400-EC-336-TT.
The grill comes fully assembled.
REQUIRED BEFORE USE:
Attaching adjustable legs
Model 4400-EC-336-TT Grill
®
8
