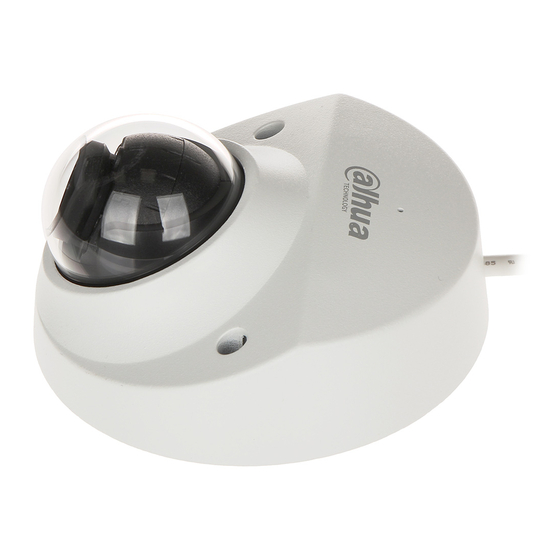
Dahua Technology D-IPC-HDBW3441F-AS-M-0280B Краткое руководство по эксплуатации - Страница 9
Просмотреть онлайн или скачать pdf Краткое руководство по эксплуатации для Камера безопасности Dahua Technology D-IPC-HDBW3441F-AS-M-0280B. Dahua Technology D-IPC-HDBW3441F-AS-M-0280B 18 страниц.

No.
5
Port Name
ALARM_IN
ALARM_OUT
ALARM_GND
1.2 Connecting Alarm Input/Output
The camera can connect to external alarm input/output devices through the digital input/output
port.
Alarm input/output is available on select models.
Step 1
Connect the alarm input device to the alarm input end of the I/O port. See Figure 1-2.
The device collects different statuses of the alarm input port while the input signal is idling
and being grounded.
● Device collects logic "1" when the input signal is connected to +3 V to +5 V or idling.
● Device collects logic "0" when the input signal is grounded.
Step 2
Connect the alarm output device to the alarm output end of the I/O port. The alarm output
is an open-drain output, which works in the following modes.
● Mode A: level application. The alarm outputs high and low level signals, and the alarm
outlet is OD, which requires external pull-up resistance (10 K Ohm typical) to work. The
maximum external pull-up level is 12 V, maximum port current is 300 mA, and the
default output signal is high-level (external pull-up voltage). The default output signal
switches to low- level when an alarm is triggered (As long as the operating current is
below 300 mA, the output low-level voltage is lower than 0.8 V).
● Mode B: switch application. Alarm output is used to drive the external circuit, the
maximum voltage is 12 V and the maximum current is 300 mA. If the voltage is higher
than 12 V, please use an additional electric relay.
Port name
Description
Includes alarm signal input and output ports, the number of
Alarm I/O
I/O ports might vary on different devices.
Table 1-2 Description of alarm I/O port
Description
Receives the switch quantity signal of external alarm sources.
Outputs alarm signals to alarm devices.
Ground connection.
Figure 1-2 Alarm input
2
Quick Start Guide
