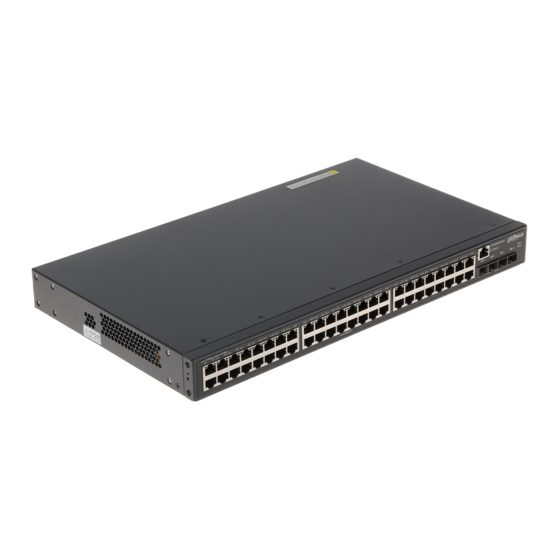
Dahua Technology DH-PFS5452-48GT4XF-400 Краткое руководство по эксплуатации - Страница 8
Просмотреть онлайн или скачать pdf Краткое руководство по эксплуатации для Переключатель Dahua Technology DH-PFS5452-48GT4XF-400. Dahua Technology DH-PFS5452-48GT4XF-400 20 страниц. 52-port managed gigabit l2+ switch

The switch can be installed on the 19-inch standard rack, and it can also be directly placed on
the working desk.
To avoid damage to the switch or human, follow these instructions:
Do not place the switch near water and keep away from humid environment to avoid water
and moisture getting into the switch.
Make sure that the working environment of switch is clean, because the dust might cause
electrostatic adsorption, which not only affects the switch working life, but also causes
communication failure easily.
Make sure that the air vent is not blocked, and do not pile up the switch.
Make sure that the switch is working at the proper and stable voltage.
Make sure that the grounding is normal with the grounding terminal at the rear panel of the
switch before using the switch.
Unplug the power before cleaning the switch. Do not wipe the switch with wet cloth, and do
not clean the switch with liquid.
Do not disassemble the switch enclosure when the switch is working, and do not
disassemble the switch enclosure even if the switch is not powered on.
The switch is the class A product, and it might cause radio disturbance in the environment. Take
practical measures to avoid radio disturbance.
2.1
Installing the Switch
2.1.1 Installing the Switch on the 19-inch Standard Rack
To install the switch on the 19-inch standard rack, do the following:
Step 1
Check the grounding of the rack, and make sure the rack is stable.
Step 2
Fix the rackmount hangers on both sides of the switch front panel with the screws.
Step 3
Place the switch on the carrier on the rack, and push the switch along the guide slot to
a proper position.
Step 4
Fix the rackmount hangers on the guide slot of the rack with the screws to make sure
the switch is secured.
2
Installation
Figure 2-1
Tightening the rackmount hangers
3
User's Manual
