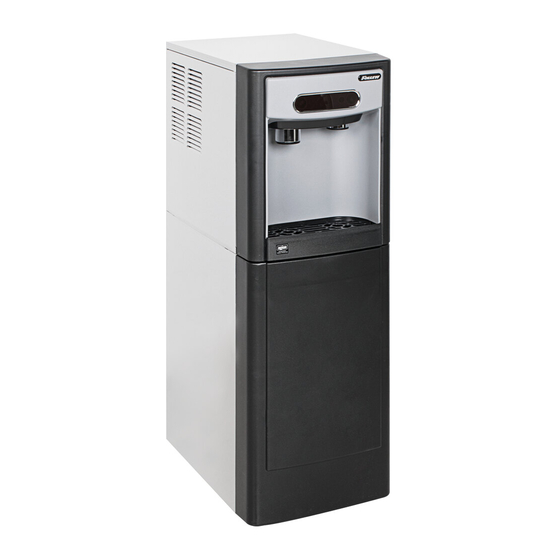
Follett Chewblet 7 Series Руководство по установке - Страница 9
Просмотреть онлайн или скачать pdf Руководство по установке для Диспенсер Follett Chewblet 7 Series. Follett Chewblet 7 Series 20 страниц. Ice and water dispenser

Installation
CAUTION!
No service or maintenance should be performed until the technician
has thoroughly read this service manual. Except for routine cleaning
and sanitizing, only qualified technicians should attempt to service
or maintain this equipment.
Countertop Installation
The 7 Series countertop model is designed to fit on counters underneath
standard mounted cabinets, this does not apply to 15 Series models.
1. A clearance of at least 3" (7.6 cm) is required behind and on each
side of the dispenser for electrical connection and ventilation
(Fig. 1).
2. Rough-in the electrical service and water line.
§ Water: supply line (with shut-off valve) connects to the dispenser's
1/4" MPT inlet or John Guest push-in fitting.
NOTICE!
If installing optional Drip Tray Drain Kit or Leg Accessory,
complete those steps before proceeding.
CAUTION!
Use caution when tipping the dispenser during leg installation. Do
not lay unit on back or side. DO NOT EXCEED 30° angle. Tipping
more than 30° can result in compressor malfunction.
3. If installing optional 4" Leg Accessory (item# 00956300), place a
5" (12.7 cm) spacer underneath the dispenser to ease installation.
4. Remove four plastic, thread-protecting plugs from bottom of
dispenser.
5. Screw each leg into chassis (Fig. 3).
6. Complete Potable Water Connection before proceeding.
Fig. 1
Fig. 2
12.7 cm (5")
min.
Dispenser and Ice Machine - 115 V, 230 V, 220 V
countertop models
minimum 3" (7.6 cm)
clearance required
spacer
9
