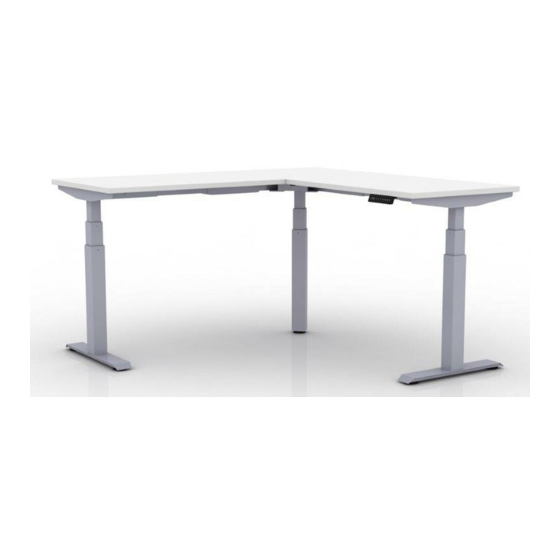
AMQ ACTIV-Pro3 Руководство по установке - Страница 4
Просмотреть онлайн или скачать pdf Руководство по установке для Внутренняя отделка AMQ ACTIV-Pro3. AMQ ACTIV-Pro3 9 страниц. Sit-stand electric table desk
Также для AMQ ACTIV-Pro3: Руководство по установке (10 страниц), Руководство по эксплуатации и устранению неисправностей (12 страниц)

Phase 2
Attaching Stretcher Bar
1
Match up frames to center bracket, line up holes to the degree that you are setting, and screw in M6 screws
2
Assemble stretcher bars into the frames
3
Complete connecting the stretcher bars and stretcher bar ends
Match up frames to center bracket, lining up the holes to the degree
1
Assemble end legs to the stretcher bar ends using M6(special) screws
that you are setting (90
o
or 120
o
). Screw in with M6 screws.
2
Attach stretcher bars to the frames.
Complete connection of stretcher bars and stretcher bar ends.
3
Attach end legs to the stretcher bar ends using M6 (special) screws.
Note:
Trim caps will be attached in Phase 4.
P4
Please contact
1
1
if you are missing any parts, have difficulty with assembly, or have any product related questions.
Note limit of stretch length and assemble base within that limitation.
1
maximum mounting distance
*For 48" width worksurfaces, do not install stretcher bars.
ACTIV-Pro3 Installation Guide
2
2
3
3
