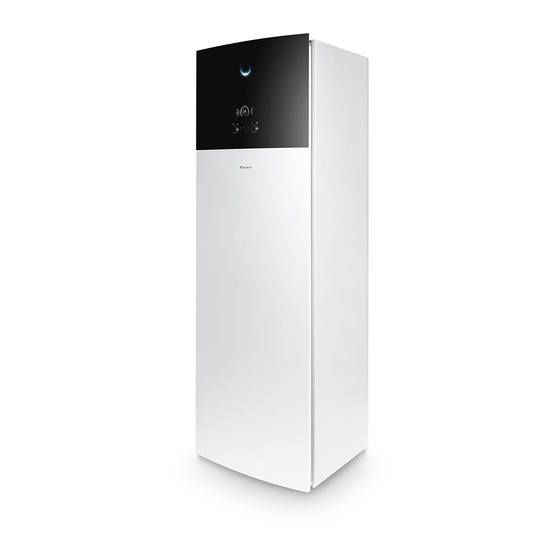
Daikin ALTHERMA Руководство по установке - Страница 7
Просмотреть онлайн или скачать pdf Руководство по установке для Кондиционер Daikin ALTHERMA. Daikin ALTHERMA 9 страниц. Low temperature split, eabh16da6v, eabh16da9w, eabx16da6v, eabx16da9w, eavh16s18da6v(g), eavh16s23da6v(g), eavh16s18da9w(g), eavh16s23da9w(g), eavx16s18da6v (g), eavx16s23da6v(g), eavx16s18da9w(g), eavx16s23da9w(g)
Также для Daikin ALTHERMA: Краткое руководство (4 страниц), Руководство пользователя (5 страниц), Справочное руководство пользователя (20 страниц)

- 1. Installation Manual
- 2. About the Box
- 3. About the Documentation
- 4. Mounting the Outdoor Unit
- 5. To Prepare the Installation Structure
- 6. To Install the Outdoor Unit
- 7. To Prepare Drain Work
- 8. Outdoor Unit
- 9. Charging Refrigerant
- 10. Starting up the Outdoor Unit
- 11. Connecting the Electrical Wiring
- 12. Finishing the Outdoor Unit Installation
- 13. About Electrical Compliance
- 14. To Finish the Outdoor Unit Installation
3.5.3 To fix the fluorinated greenhouse gases label
1
Fill in the label as follows:
a From the multilingual fluorinated greenhouse gases label
peal off the applicable language and stick it on top of a.
b Factory refrigerant charge: see unit name plate
c Additional refrigerant amount charged
d Total refrigerant charge
2
Fix the label on the inside of the outdoor unit near the gas and
liquid stop valves.
3.6
Connecting the electrical wiring
DANGER: RISK OF ELECTROCUTION
WARNING
ALWAYS use multicore cable for power supply cables.
3.6.1 About electrical compliance
Only for EVLQ08CAV3
Equipment
complying
with
International Technical Standard setting the limits for harmonic
currents produced by equipment connected to public low-voltage
systems with input current >16 A and ≤75 A per phase.).
3.6.2 To connect the electrical wiring on the
outdoor unit
1
Remove the 2 switch box cover screws.
2
Remove the switch box cover.
3
Open the wire clamp.
EVLQ05+08CAV3
Daikin Altherma hybrid heat pump – outdoor unit
4P344906-1 – 2013.02
a
b
c
d
EN/IEC 61000-3-12
(European/
1
1
2x
4 Starting up the outdoor unit
4
Connect the interconnection cable and power supply as follows:
3x
5
Install the switch box cover.
3.7
Finishing the outdoor unit installation
3.7.1 To finish the outdoor unit installation
1
Insulate and fix the refrigerant piping and interconnection cable
as follows:
c
a
b
f
a Gas pipe
b Gas pipe insulation
c Interconnection cable
d Liquid pipe
e Liquid pipe insulation
f Finishing tape
2
Install the service cover.
4
Starting up the outdoor unit
See the indoor unit installation manual for configuration and
commissioning of the system.
1 2 3
d
e
Installation manual
5
