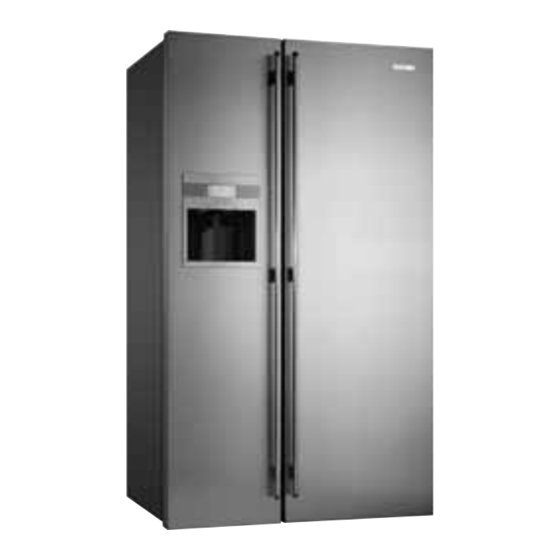
Electrolux 1458528 Руководство пользователя - Страница 23
Просмотреть онлайн или скачать pdf Руководство пользователя для Холодильник Electrolux 1458528. Electrolux 1458528 30 страниц. Side by side refrigeration
LED Lighting
Your refrigerator is fitted with long life LED lighting.
In the unlikely event the LED lights should ever fail, then the
LED lights need to be serviced by a qualified technician.
Refer to page 20 for contact details.
electrolux side by side refrigeration changing the light bulbs/cleaning 19
Cleaning your refrigerator
warning
BEFORE CLEANING: Turn the refrigerator off at the
power point and unplug the cord to prevent any
chance of electrocuting yourself.
• Doors and exterior – stainless steel
Your stainless steel appliance is manufactured from a mark
resistant stainless steel. This stainless steel has a special
advanced protective coating that eases the removal of
marks such as finger prints and water spots. To keep your
stainless steel appliance looking at its best, you should
clean it regularly. You should only clean the stainless steel
doors with luke-warm soapy water and a soft cloth, rinsing
with clean water and then wipe the surface with clean water
and a soft clean cloth to remove soap residue.
• Doors – surface hardened acrylic
Clean outside of door only with the anti-static cleaner
supplied (ACL Staticide #2003). It is designed to reduce
dust accumulation on acrylic surfaces. Alternatively, only
use lukewarm soapy water and a soft cloth, rinsing with
clean water and then wipe the surface with a soft clean
cloth to remove soap residue.
caution
Do not use abrasive pads or other cleaners as they are
likely to scratch the surface. Damage to this product
after installation is not covered by your warranty.
Drip Tray (Ice & Water models only)
Water may accumulate in the sump located under the
drip tray. If this occurs the sump can be sponged out to
prevent water overflowing down the front of the door.
For cleaning, remove the tray as described below:
1. Insert a lever (e.g. spoon handle) in the opening in the
drip tray.
2. Whilst holding the front of tray, lever the back upwards.
3. To refit, position the front of the tray into the front of the
sump then lower the back of the tray.
1. opening in drip tray