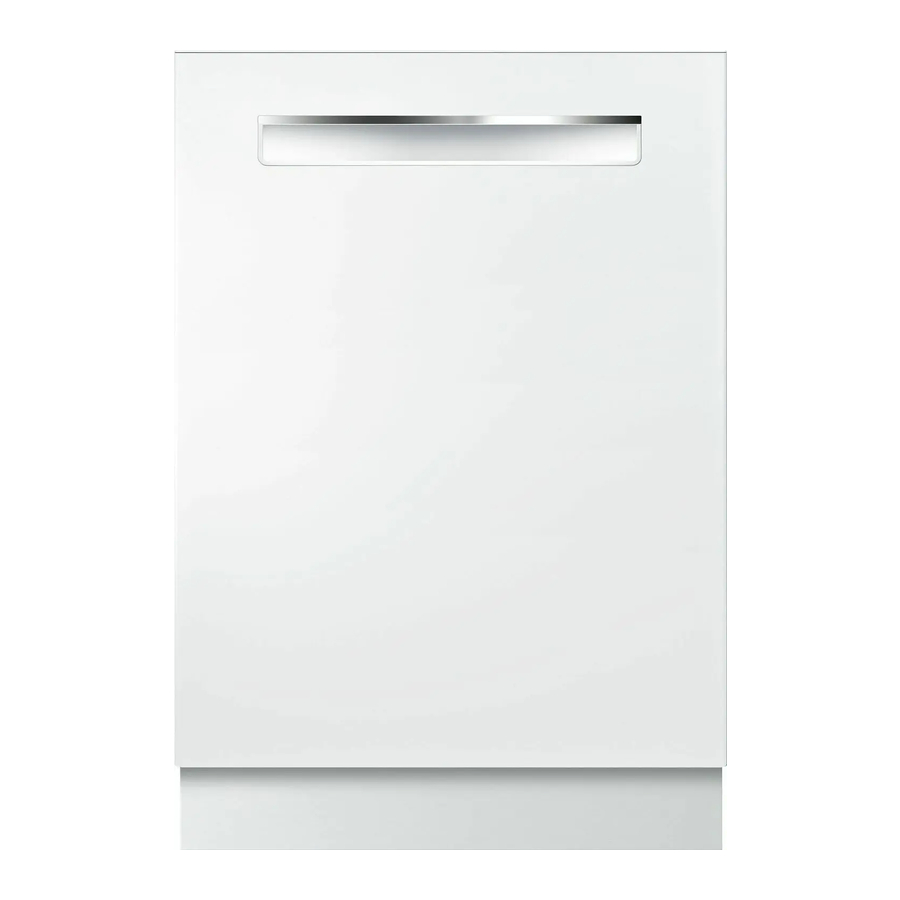
Bosch HV68T53UC Series Руководство по эксплуатации - Страница 20
Просмотреть онлайн или скачать pdf Руководство по эксплуатации для Посудомоечная машина Bosch HV68T53UC Series. Bosch HV68T53UC Series 27 страниц. 500 series built-in dishwasher

Care and Maintenance
A regular inspection and maintenance of your machine will help to pre-
vent faults. This saves time and prevents future problems.
Overall condition of the machine
Never use a steam cleaner to clean your dishwasher. The manufacturer is not
liable for any resulting damage.
Regularly wipe the front of the appliance with a damp cloth - water and a
small amount of liquid soap is adequate. Do not use sponges as they could
scratch the surfaces.
Stainless steel appliances: To prevent corrosion, do not use sponges.
Clean the outer edges of the inside door panel regularly to remove debris
that may collect from normal loading. If spots begin to appear on the stain-
less steel, make sure the rinse agent is full and functioning properly.
Use caution when removing parts for cleaning as
some debris may be sharp.
Filters
The filter system consists of a coarse filter, a flat
fine filter and a micro filter. The filters keep large
foreign objects in the rinsing water away from the
pump. Foreign objects may occasionally block
the filters.
Check the filters for residue by:
• Unscrew the filter cylinder as illustrated in Fig.
11-12 and take out the filter system.
• Remove any residue and clean filters under run-
ning water.
• Reinstall filter system in reverse sequence and
ensure that the arrow marks are facing each
other after locking it into place.
Spray Arms
Check spray arms for grease and limescale deposits.
If you find such deposits:
• Fill detergent dispenser with detergent and
start the appliance without utensils in the
cycle with the highest rinsing temperature (see
wash cycle information table).
• Clean the appliance with detergents/ appliance
cleaners which are particularly suitable for use
with dishwashers.
• Unscrew the spray arms and inspect as shown
in Figure 13.
19
WARNING
Figure 11
Figure 12
Figure 13
