Advanced Elements AdvancedFrame AE1007 Руководство пользователя - Страница 8
Просмотреть онлайн или скачать pdf Руководство пользователя для Лодка Advanced Elements AdvancedFrame AE1007. Advanced Elements AdvancedFrame AE1007 20 страниц. 1 or 2 convertible inflatable kayak

TM
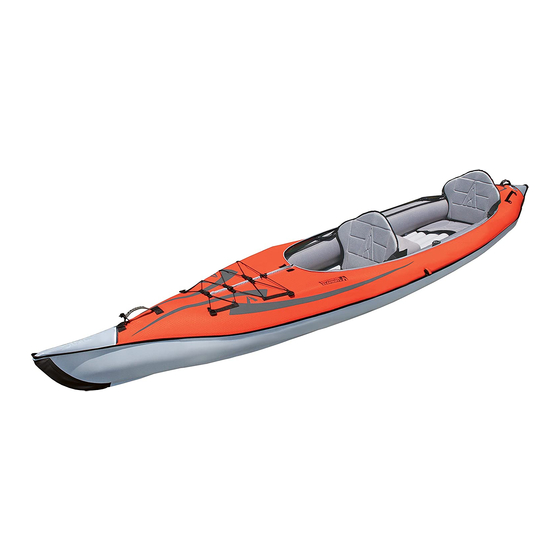
1. Your AdvancedFrame™ kayak comes from the factory pre-assembled however should you
take it apart you will need to insert the aluminum Bow Rib and the Stern Rib into the
webbing slots on the cover of the AdvancedFrame™ tube (while deflated).
2. Place the AdvancedFrame™ (with Ribs installed), into the Outer Skin, making sure that the
air valve is upright and at the back of the boat, and lined up with the opening on the outer
cover.
3. With the AdvancedFrame™ tube installed inside the outer skin place the inflatable floor
inside the center of the AdvancedFrame™ with twist valve up.
4. Attach the adjustable backrest to the AdvancedFrame™ side tubes by fastening buckles.
5. NOTE: If you have purchased the optional deck conversion, zip on before inflating kayak.
This will allow the zippers to align properly.
3.2 Understanding Your Valves
Advanced Elements AdvancedFrame™ Convertible kayak uses the following valves. The
Advanced Elements spring valve has the function and durability of other military type valves
and is compatible with most standard pumps. The lock nut holds the valve in place with the
cover for easy inflation. The following figures will have details on how to operate the valves.
To Inflate: The valve's plunger stem should be in the up/outward position flush with the valve
threading.
To Deflate: The valve's plunger stem should be set in the down/inward position recessed in the
valve threading.
In order to switch the valve from inflate to deflate or vice-versa, simply use your finger to
press the valve stem down/inward and rotate it a 1/4 turn to either lock it down for deflate, or
unlock it (stem will spring up) for inflate.
How the Spring Valve Works:
When the valve is in the inflate (up/outward) position, the air being pumped in pushes the
spring-loaded plunger open, allowing air to enter the air chamber, but not letting it escape.
When the valve is in the deflate (down/inward) position, the spring loaded plunger is wide open
allowing the air to come rushing out of the air chamber. If the valve is in the inflate position, the
valve's plunger stem will be flush with the rim of the valve. If the valve is in the deflate position,
the valve's plunger stem will be inside, or lower than, the rim of the valve. To change the valve
from the inflate position to the deflate position, simply use your finger to press the valve plunger
stem down/inward, and give it a 1/4 turn. This will lock the plunger open and allow the air to
rush out. Use the same procedure in reverse to unlock the valve plunger, allowing it to spring up
into the inflate position.
Special Note: If you are using a 12v inflator, like those that come with most inflatable mattresses
or those that plug into car cigarette lighters, you may need to have the valve in the deflate (down/
inward) position because these types of pumps typically do not provide enough air pressure
to press the plunger open to allow air into the air chamber. Additionally, 12v inflators do not
8
