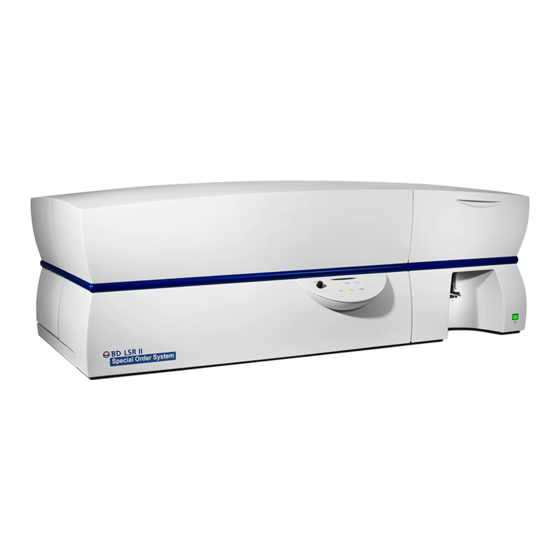
BD LSR II Руководство пользователя - Страница 3
Просмотреть онлайн или скачать pdf Руководство пользователя для Измерительные приборы BD LSR II. BD LSR II 8 страниц. Flow cytometry analyzer
Также для BD LSR II: Руководство пользователя (20 страниц)

Calibration
1. Remove the water tube from the SIP
2. Push the RUN button on fluidics panel and note the drop of saline back flushing from the SIP
3. Push the LO button on Cytometer panel
4. Place the standard 197 calibration beads (located in rack or freezer) on the SIP
5. Go to 'Beads Specimen (syringe icon)'
6. CLICK on '+' sign
7. Click on '197 Beads' tube (The green arrow
tube) This makes acquisition controls active
8. In Acquisition Dashboard CLICK àAcquire Data
9. Set Events to Display to 50-100 for calibration
10. Set flow rate to LO
11. After beads appear on plots, use fine tune (black knob) to adjust flow rate to approx. 200 beads/sec
12. Check that the "delay window extension" global work sheet is selected.
13. Follow the on-screen instructions and check the instrument laser delays, and area scaling.
a. Confirm the Forward scatter threshold is set to 50% of the forward scatter signal.
b. Check the laser delays by closing the window extension to 0.
c. The area signal for the Green, Red and Violet lasers should drop no more than 50%.
(You can use the height value for a quick reference to 100 % signal.)
d. If the delays are incorrect first check the CST values. Use the latest performance shortcut on the
desktop for the most recent CST run.
e. Open the window extension back to 6.00
f. Check that Area Scaling values are correct. Area should be greater than or equal to the height
within 10%. If relationship is off, make adjustments in the area scaling section in the laser tab.
14. Stop Acquiring.
15. Switch to the "standards" global worksheet.
16. Adjust the PMT voltages (cytometer window à parameters tab) so the measured values are at or
around displayed target values in bold (within 10%).
17. Press RECORD DATA in tube labeled '197 beads'
Experiment Definition
1. Select the next specimen in the experiment Specimen Click the '+' to see
Tube_001
2.
Highlight Tube_001 in new specimen area àclick on arrow on left
3.
In the Cytometer pane, delete parameters you will not be using.
a. In Parameters tab, click on small button to left of parameter name.
b. Click delete button (use shift key and highlight for multiple deletions)
Acquisition must be stopped in order to change the worksheets
should be pointing at the
à
3
