Dream Baby F820 Инструкции - Страница 4
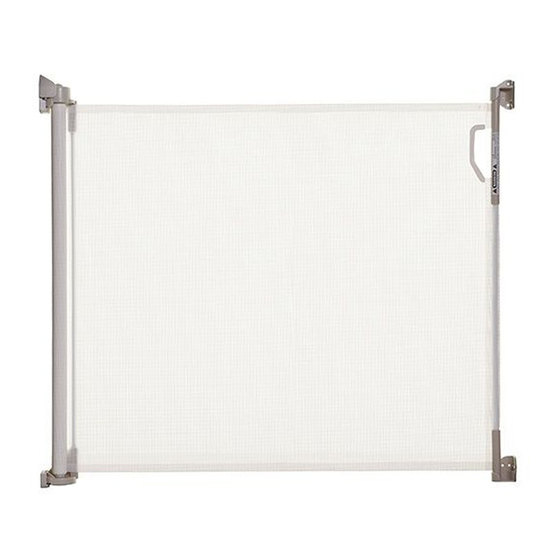
Просмотреть онлайн или скачать pdf Инструкции для Мебель для новорожденных и детей Dream Baby F820. Dream Baby F820 4 страницы. Retractable gate

INSTALLATION
2. Best location for the Retractable Gate
Locate the best position for the Retractable Safety Gate which can be fitted in hallways / doorways (see 2-1 & 2-2)
and stairways (see 2-3, 2-4). Also decide which side to have opening handle prior to installation.
Bottom of stairs: If the barrier is used at the bottom of the stairs to prevent the child from climbing up the stairs,
it must be placed on the lowest stair (2-3).
Top of stairs: If the gate is to be used at the top of the stairs to prevent the child from falling down the stairs, it must
not be placed on any stair below the level of the top stair.
At the top of the landing, position the gate 15cm (6") away from top step (2-4).
Decide which side is more convenient for opening this gate, handle to the left or right.
Always ensure that the Safety Barrier (A) is positioned according to the template.
2-1
2-2
3. Installing the Retractable Gate
There are 3 grooved line markings on the Face of Casing (I), to allow
for 3 options to secure gate into its position. Grooved line marking is
to be lined up with the arrow on Upper Locking Bracket (B) to suit
direction for Safety Barrier (A) extension (see 3-1 & 3-2).
Hardware is required to install this gate.
Mounting materials used for fixing gate must be suitable for the
wall surface.
Mounting screws (G) supplied.
If mounting to concrete or brick walls, use supplied raw plugs (H).
If the gate is used at the bottom of
the stairs to prevent the child from
climbing up the stairs, it must be
placed on the lowest stair.
If the gate is to be used at the top of
the stairs to prevent the child from
falling down the stairs, it must not be
15cm
placed on any stair below the level of
6"
the top stair.
At the top of landing, position the gate
15cm (6") away from the top step.
Top view of gate
Side view of gate
2
INSTALLATION
3. Skirting boards (baseboards)
If there is a skirting board (baseboard) to which the Retractable Safety Gate is to be attached, build up the wall areas
equivalent to thickness of baseboard (skirting board) with Spacers (sold separately) (see configuration and measurements below (3-7).
Upper Locking Bracket (B) (3-3).
Make sure that the gate is mounted firmly and evenly in vertical position.
Upper Locking Hook (E) (3-4).
Make sure that the upper and lower Locking Hooks (E) are positioned to securely engage the Locking Catches (F).
Locking Hooks (E) can be mounted upright (3-5) or flat (3-6), depending on if Gate is mounted to inside of door frame or not.
NOTE: Never use Backing Spacers to mount Safety Gate or Locking Hooks on their own (3-8).
Backing Spacers must only be used in conjunction with Bracket and Hook Spacers.
3-3
spacer
2-3
2-4
3-7
I = 1.27cm (1/2")
I+J = 1.91cm (3/4")
3-8
J J
J I
3-4
3-5
spacer
J
I
K = 1.27cm (1/2")
K+L = 1.91cm (3/4")
L L
3
3-6
K
L
L K
