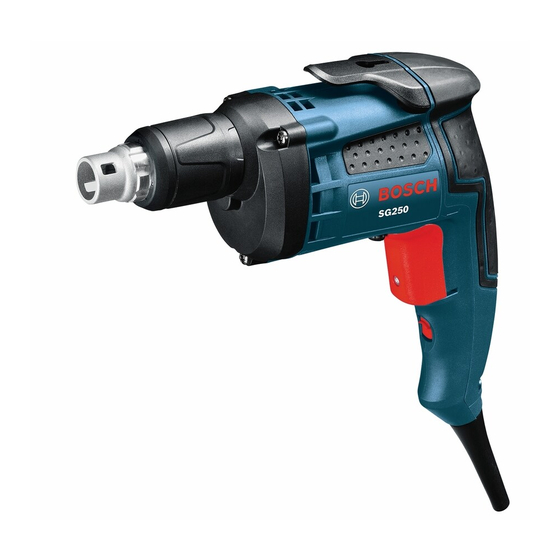
Bosch SG250 Руководство по эксплуатации/безопасности - Страница 9
Просмотреть онлайн или скачать pdf Руководство по эксплуатации/безопасности для Электроинструмент Bosch SG250. Bosch SG250 33 страницы.
Также для Bosch SG250: Руководство по эксплуатации/безопасности (32 страниц)

BM 2610023125 02-12:BM 2610023125 02-12.qxp 2/8/12 2:21 PM Page 9
VARIABLE SPEED CONTROLLED
TRIGGER SWITCH
Your tool is equipped with a variable speed
trigger switch. The tool can be turned "ON" or
"OFF" by squeezing or releasing the trigger.
The speed can be adjusted from the minimum
to maximum nameplate RPM by the pressure
you apply to the trigger. Apply more pressure
to increase the speed and release pressure to
decrease speed (Fig. 1).
"LOCK-ON" BUTTON
The "Lock-ON" button, located near the trigger
allows for continuous operation at maximum
RPM without holding the trigger.
TO LOCK TRIGGER "ON": squeeze trigger,
depress button and release trigger.
TO UNLOCK THE TRIGGER: squeeze
trigger and release it without depressing the
"Lock-ON" button.
If the "Lock-ON" button is
WARNING
continuously being de-
pressed, the trigger can not be released.
PRESSURE CONTROLLED CLUTCH
This tool is equipped with a clutch that, when
combined with the Posi-Lok nose piece, stops
the screw at the desired depth and prevents
the screw head from becoming stripped or
breaking the bit tip.
DEPTH CONTROL
The depth control should be adjusted so that
the drywall screw is set slightly below the
drywall surface.
DEPTH ADjUSTMENT
Your driver will continue to drive as long as
enough pressure is applied to the bit to keep
the clutch engaged. The nose piece, upon
contacting the work, prevents further pressure
on the bit. Driving then stops regardless of
pressure continued by the operator.
1. Rotate the depth adjusting sleeve until the
nose piece reaches the desired position.
2. Each click of the depth adjusting sleeve
equals a 1/64 inch change in depth. One full
360 degree turn equals 1/16 inch (Fig. 8).
3. Before beginning, always test-drive a sample
screw into a piece of scrap installation
material to check desired depth setting.
General Operating Instructions
SG250/SG450 Operating Instructions
The clutch becomes engaged and begins
driving the screw into the work piece when
pressure is placed bit tip. The clutch becomes
disengage and stops driving the screw when
the nose piece contacts the work piece and
releases the pressure on the bit tip.
REVERSING SWITCH LEVER
The reversing switch lever is located above the
trigger switch and is used to reverse rotation of
the bit.
To use driver in "Forward" rotation, move lever
to left side of tool. To "Reverse" the rotation of
the bit move the lever to the right side of the
tool. The center position of the lever is the
"Lock-OFF" position.
Do not change direction of
CAUTION
rotation until the tool comes to
a complete stop. Shifting during rotation of the
chuck can cause damage to the tool.
BELT CLIP
Your tool is equipped with a belt clip that allows
you to conveniently attach your driver to your
belt. This feature will allow you to have both
hands free when climbing a ladder or moving to
another work area (Fig. 1).
CAPACITIES
Model
Nominal Capacity
SG250
All available sharp point screws in
20-25 gauge studs.
SG450
All available sharp point screws in
14-20 gauge studs.
-9-
FIG. 8
