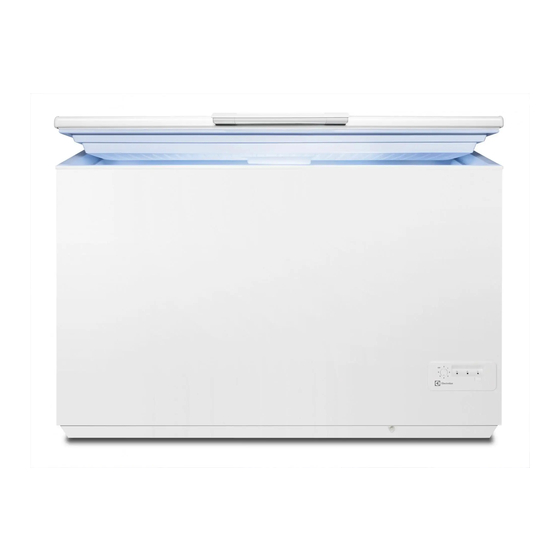
Electrolux EC4200AOW1 Руководство пользователя - Страница 8
Просмотреть онлайн или скачать pdf Руководство пользователя для Морозильная камера Electrolux EC4200AOW1. Electrolux EC4200AOW1 48 страниц.
Также для Electrolux EC4200AOW1: Руководство пользователя (10 страниц)

8
www.electrolux.com
When normal conditions are restored,
the Alarm light will switch off
automatically.
5. DAILY USE
WARNING!
Refer to Safety chapters.
5.1 Freezing fresh food
The freezer compartment is suitable for
freezing fresh food and storing frozen
and deep-frozen food for a long time.
The maximum amount of food that can
be frozen in 24 hours is specified on the
rating plate (refer to "Technical data").
The freezing process lasts 24 hours:
during this period do not add other food
to be frozen.
5.2 Storage of frozen food
When first starting-up or after a period
out of use, before putting the products in
the compartment let the appliance run at
least 24 hours Temperature Regulator to
the Full Loaded position.
CAUTION!
In the event of accidental
defrosting, for example due
to a power failure, if the
power has been off for
longer than the value shown
in the technical
characteristics chart under
"rising time", the defrosted
food must be consumed
quickly or cooked
immediately and then re-
frozen (after cooling).
5.3 Opening and closing the lid
CAUTION!
Never pull the handle with
immense force.
As the lid is equipped with a tightly
closing seal, it is not easy to reopen it
shortly after closing (due to the vacuum
formed inside). Wait for few minutes
before reopening the appliance.
The vacuum valve will help you to open
the lid.
5.4 Freezing Calendar
The symbols show different types of
frozen goods.
The numbers indicate storage times in
months for the appropriate types of
frozen goods. Whether the upper or
lower value of the indicated storage time
is valid depends on the quality of the
foods and treating before freezing.
5.5 Storage baskets
Hang the baskets on the upper edge of
the freezer (A) or place them inside the
freezer (B). Turn and fix the handles for
these two positions as shown in the
picture.
A
The following pictures show how many
baskets can be placed inside the various
freezer models.
The baskets will slide into each other.
B
