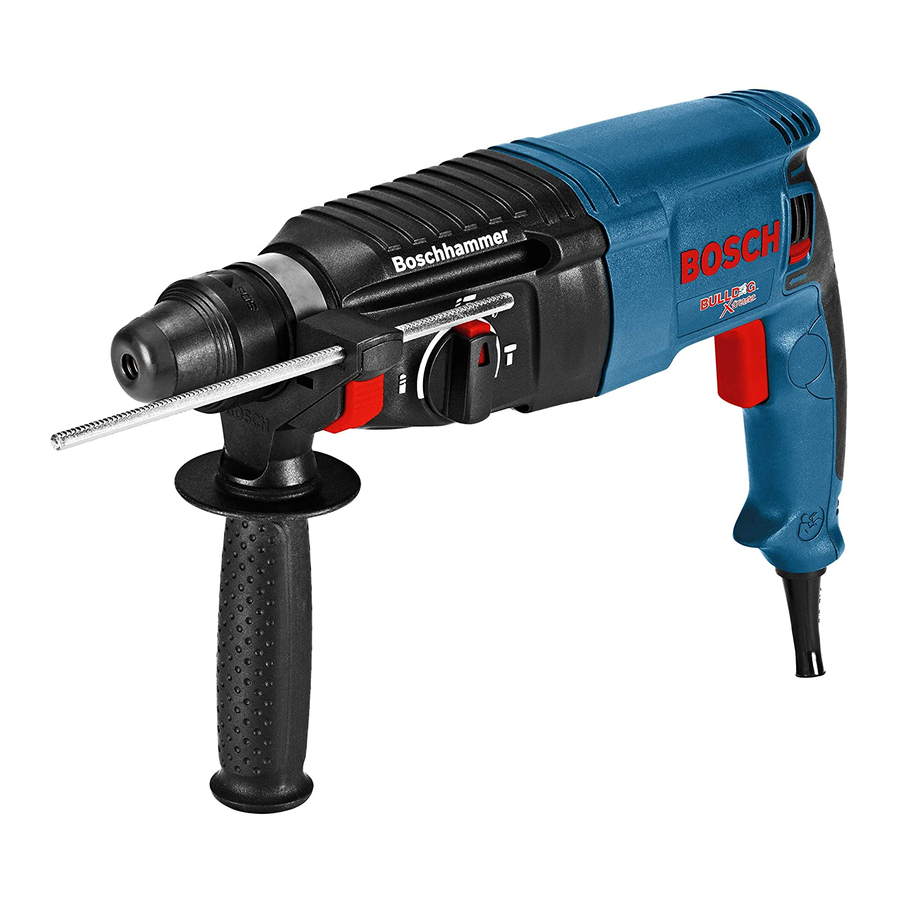
Bosch 11250VSRD Руководство по эксплуатации - Страница 9
Просмотреть онлайн или скачать pdf Руководство по эксплуатации для Сверло Bosch 11250VSRD. Bosch 11250VSRD 44 страницы. Operating instructions
Также для Bosch 11250VSRD: Руководство по эксплуатации/безопасности (45 страниц), Руководство по эксплуатации/безопасности (49 страниц)

iNSTALLiNG
DUST CANISTER
To install dust canister,
push canister
upward
into the dust extraction
system until you hear it
lock into place (Fig. 6).
CHANGING
THE MICROFILTER
For maximum
efficiency,
the microfilter
should
be
replaced
after
approx.
15 hours
of
operation.
Remove
the dust
canister
from
the dust
extraction system (Fig. 6).
Lift the microfilter
upward
and remove
old or
damaged filter from dust canister
(Fig. 7).
Insert a new microfilter
into the dust canister
and reinstall the dust canister
(Fig. 7.)
Note: If the microfilter
is damaged
(e.g. holes,
damage to the soft sealing material), it must be
replaced
immediately.
Working
with
a
damaged
microfilter
can cause damage to the
power tool.
Also
replace
the
microfilter
when
the
vacuuming
performance
is insufficient,
even
when the dust canister is empty.
--
DUST
CANISTER
VACUUM
ADAPTER
DUST CANISTER
(Not included, available
as accessory)
For dust extraction
with a vacuum
cleaner, the
(optional) vacuum adapter dust canister can be
inserted into the dust extraction system instead
of the dust canister, if required.
Press the two canister
release buttons and pull
canister
downward
and remove
from the dust
extraction system (Fig. 6).
Install vacuum
adapter
dust canister
upward
into dust extraction system until you hear it lock
into place (Fig. 8).
To use this
feature,
attach
vacuum
hose
(optional accessory)
to dust port, then connect
opposite
end of the vacuum
hose to a shop
vacuum
cleaner.
A vacuum
hose
adapter
(optional accessory)
is available
for connecting
thistool to a 1-1/4" or 1-1/2" vacuum hose (Fig. 8).
The vacuum
cleaner
must be suitable
for the
material being drilled.
PORT
VACUUM
ADAPTERDUST
CANISTER
--I
VACUUM
NOSE
DEPTH GAUGE
Your drilling
depth
X can be pre-set
and/or
repeated
by using the depth gauge.
After the auxiliary
handle
is installed,
make
sure the accessory
has been fully inserted into
the chuck before setting the depth gauge.
Set the depth
gauge
by compressing
the
telescopic
guide
toward
the tool. When
the
desired length of the bit is exposed,
press and
slide the depth
stop button against
the guide
housing
and release the button
(Fig. 9). The
depth gauge is spring loaded and will return to
the fully extended
position when pressure has
-9-
