Dremel 3D20 Idea Builder Краткое руководство по эксплуатации - Страница 4

Просмотреть онлайн или скачать pdf Краткое руководство по эксплуатации для 3D-принтеры Dremel 3D20 Idea Builder. Dremel 3D20 Idea Builder 8 страниц. Unclogging
Также для Dremel 3D20 Idea Builder: Краткое руководство по эксплуатации (2 страниц), Краткое руководство по эксплуатации (8 страниц), Краткое руководство по эксплуатации (4 страниц), Краткое руководство по эксплуатации (4 страниц), Краткое руководство по эксплуатации (2 страниц), Руководство по устранению неполадок (2 страниц), Краткое руководство по эксплуатации (2 страниц), Краткое руководство по эксплуатации (2 страниц), Краткое руководство по эксплуатации (2 страниц)
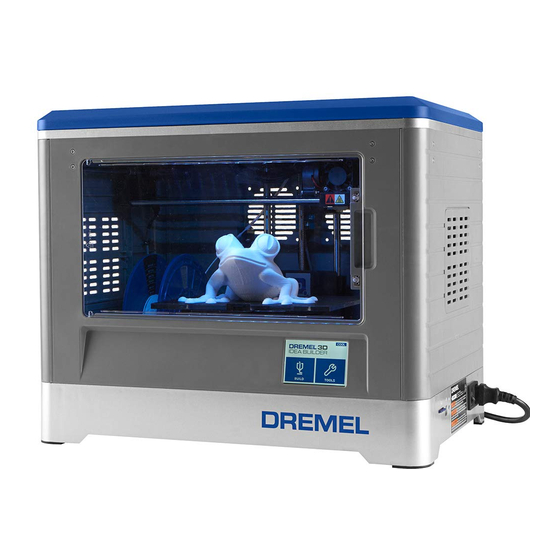
Dremel 3D20 Idea Builder Краткое руководство по эксплуатации
4

Getting Ready to Build

OBSERVE ALL PROVIDED WARNINGS AND SAFETY
WARNING
WARNING
INSTRUCTIONS WHEN USING THE DREMEL 3D20.
FAILURE TO DO SO MAY RESULT IN FIRE, EQUIPMENT DAMAGE,
PROPERTY DAMAGE OR PERSONAL INJURY.

FILAMENT INSTALLATION

1. Ensure the power switch is in the off position, remove the lid
and remove the build platform.
2. Place filament spool onto spool holder with spool being fed from
the bottom towards the back of the Dremel 3D20. Insert spool
lock into spool holder and rotate 90 degrees to lock in place.
3. Thread filament through filament guide tube.
4. Insert the filament coming from the filament guide tube into
the extruder intake (top).
5. Adhere build tape over the build platform.
6. Install platform using 3 clips. Place the table under the two
back clips then snap it in with the front clip.
7. Plug power cord into outlet and turn on power switch.
8. Tap "Tools" on your Dremel 3D20's touch screen, then tap
"Filament" , then tap "Load Filament" and wait for the extruder
to heat.
9. Once heated, filament will be drawn through the extruder. Allow
filament to exit the extruder for 10 seconds before tapping the
return arrow to complete.
LIFT
1
Filament
Guide
3
5
2
4
8