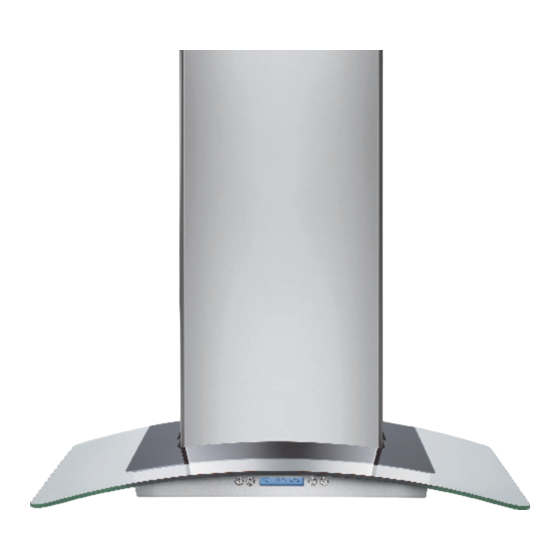
Electrolux 42 Руководство пользователя и инструкции по установке - Страница 20
Просмотреть онлайн или скачать pdf Руководство пользователя и инструкции по установке для Вентиляционная вытяжка Electrolux 42. Electrolux 42 45 страниц. 30” and 36” free-standing range hood
Также для Electrolux 42: Руководство по установке, использованию и уходу (22 страниц)

CUSTOMIZATION BASICS:
Stainless Steel Wrapped Models
Stainless Steel Wrapped Refrigerators
Stainless Steel wrapped refrigerators have
wrapped doors and grille panels, and beveled
edges. These models are shipped ready for
installation.
Trimmed Models
Trimmed Refrigerator Panels
Trimmed refrigerators are designed to be
customized with decorative panels. Field
installed custom door and grille panels are
required. There are three custom panel
options. You can install a 1/4" framed panel,
a 3/4" framed custom panel or a 3/4" full-
width overlay custom panel.
1/4" Framed Panels
You may install 1/4" thick custom panels from
your cabinet manufacturer. The decorative
panel slides into the factory installed trim.
Framed Panel
Installation Instructions
Door Handles
20
3/4" Framed Custom Panels
3/4" framed custom panels are secured
to a 1/4" finished backer panel. They are
designed to slide into the factory installed
trim, no kits required. The backer panel
will be exposed on the handle side and
therefore must be finished.
3/4" Custom Panel
3/4" Full-Width Overlay Custom Panels
3/4" full-width overlay custom panels are
designed to slide into the factory installed
trim, no kits required. In this design, you
can achieve a nearly trimless appearance. A
spacer panel must be installed between the
finished backer and appearance panel. The
backer panel will be exposed on the handle
side and therefore must be finished.
3/4" Overlay Panel
.10" Thick Spacer Panel
1/4" Thick Backer Panel
Door Handles On Trimmed Refrigerators
The handles can be used to accommodate
both framed or custom panels.
NOTE: For 3/4" custom panels, please refer
to diagrams on page 23 for optimum handle
clearance.
Door Handles
