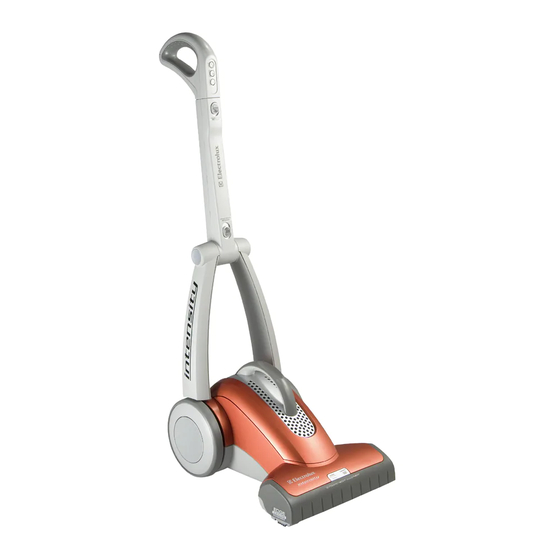
Electrolux EL5020A - Intensity Upright HEPA Vacuum Cleaner Руководство по сборке/разборке - Страница 5
Просмотреть онлайн или скачать pdf Руководство по сборке/разборке для Пылесос Electrolux EL5020A - Intensity Upright HEPA Vacuum Cleaner. Electrolux EL5020A - Intensity Upright HEPA Vacuum Cleaner 6 страниц. Bagged upright vacuum cleaner
Также для Electrolux EL5020A - Intensity Upright HEPA Vacuum Cleaner: Руководство пользователя (16 страниц)

• Lift the brushroll motor out and disconnect the electrical leads.
Note: When reinstalling any electrical components, make sure you reference the correct
wiring diagram. After any rewiring, it is also necessary to route all wiring back into the
proper retaining clips and/or holders.
Note: This is a DC motor and has to be reconnected a certain way to insure proper
rotation direction of the brushroll. Looking at the back of the brushroll motor the red lead
goes on the terminal where the white insulation looks like a "P" (P for Positive).
• Reconnect electrical leads.
• Reassemble in reverse order.
G. Suction Motor Removal / Installation.
• Remove the hood assembly. (Section C)
• Remove the light panel on the back of the motor shroud assembly by removing the clam
shell nut with needle nose pliers or 3/8 nut driver and lifting the light panel out of the way.
• Remove 4 torx screws from inside bag compartment.
• Lift out motor shroud/bag compartment out.
• Remove 4 torx screws from the motor shroud and separate it from the bag compartment.
• Remove the motor.
• If replacing the motor remove the rear motor mount and can gasket.
• Disconnect the electrical leads.
Note: When reinstalling any electrical components, make sure you reference the correct
wiring diagram. After any rewiring, it is also necessary to route all wiring back into the
proper retaining clips and/or holders.
• Reconnect electrical leads.
• Reassemble in reverse order.
H. Cord Reel Assembly Removal / Installation
• Remove the hood assembly. (Section C)
• Remove Right wheel assembly. (Section B)
• Remove the 4 torx screws from inside bag compartment and lift the motor shroud/bag
compartment out of the way as required.
5
