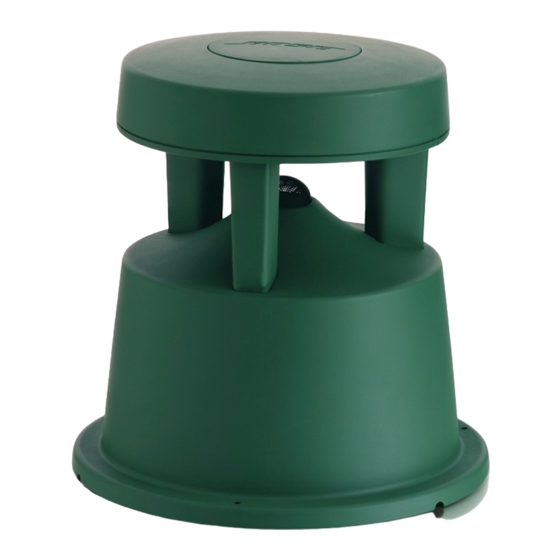
Bose FreeSpace 360P Руководство по эксплуатации - Страница 3
Просмотреть онлайн или скачать pdf Руководство по эксплуатации для Динамики Bose FreeSpace 360P. Bose FreeSpace 360P 9 страниц. Environmental speaker
Также для Bose FreeSpace 360P: Руководство пользователя (12 страниц), Установка (3 страниц), Руководство по эксплуатации (7 страниц)

DISASSEMBLY/ASSEMBLY PROCEDURES
1. Mounting Plate Removal
1.1 Remove the four screws (20) that secure
the mounting plate (10) to the base housing
(14).
1.2 Lift off the mounting plate.
2. Mounting Plate Replacement
2.1 Align the mounting plate (10) to the base
(14). Replace the four screws (20) that secure
the mounting plate to the base.
3. Driver/Equalizer PCB Removal
Note: For versions without a passive equal-
izer, ignore references to the equalizer PCB.
3.1 Remove the three screws (6) that secure
the driver protector (4) and the driver (1) to the
cap housing (13).
3.2 Lift off the driver protector. The equalizer
PCB is attached by a screw to the driver
magnet. Work the driver with attached equal-
izer PCB out of the cap housing.
3.3 Cut the wires as close as possible from the
driver terminal. Remove the screw that se-
cures the equalizer PCB to the driver magnet.
4. Driver/Equalizer PCB Replacement
Note: For versions without a passive equal-
izer, ignore references to the equalizer PCB.
4.1 Referring to Figure 6, position the equal-
izer PCB on the driver and using the screw
removed in procedure 3.3, attach the equalizer
PCB to the driver (1) magnet. Attach the red
wire to the positive (+) driver terminal and the
black wire to the negative (-) driver terminal.
Refer to Figure 1 Wiring Diagram.
4.2 Work the assembled driver and equalizer
into the cap housing (13). Twist together any
excess wire to prevent a wire buzz.
4.3 Align the driver protector (4), the driver
and the driver gasket (2) to the cap housing.
Replace the three screws (6) that secure the
driver to the cap housing.
(Refer to Figure 4)
5. Transformer Removal
Note: For transformer versions only.
5.1 To gain slack in the wires, perform proce-
dure 3.1 and 3.2 first.
5.2 Remove the four screws (8) that secure
the transformer plate (11) to the cap housing
(13). Lift up the transformer plate.
5.3 Make a note of the wiring configuration
and then remove the wires from the trans-
former (3).
5.4 Remove the two nuts (9) that secure the
transformer to the transformer plate.
6. Transformer Replacement
Note: For transformer versions only.
6.1 Align the transformer (3) to the transformer
plate (11) and replace the two nuts (9) that
secure the transformer to the transformer
plate.
6.2 Referring to the wiring configuration notes
taken in procedure 5.3 or to Figure 1 Wiring
Diagram, attach the wires to the transformer.
6.3 Lower the transformer with attached
transformer plate into the cap housing (13)
and secure into place with four screws (8).
6.4 Use procedure 4.2 and 4.3 to replace the
driver.
Red
Cap
(in harness)
Transformer
Wire harness
Black
Red
Transformer
Wire harness
Black
Figure 1. Wiring Diagram
3
Red
+IN
COM
Black
Wire post
(two places)
Passive Version
Red
+IN
COM
Black
Wire post
(two places)
Non-passive Version
EQ PCB
Red
E4
E2
+
_
+
_
