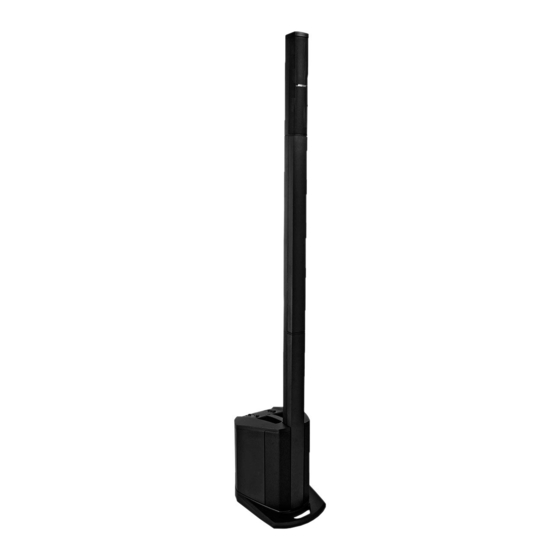
Bose L1 Compact Руководство пользователя - Страница 12
Просмотреть онлайн или скачать pdf Руководство пользователя для Динамики Bose L1 Compact. Bose L1 Compact 24 страницы. Portable line array system

O
PERATING
Connections and controls
The power stand control panel provides all the necessary connectors, controls, and indicators
for operation.
Channel 1 (Microphone input)
The channel 1 input is for use only with a
microphone. Integrated ToneMatch
processing provides a high level of tone
customization to provide a listening experience
that most musicians can only achieve using a
recording studio.
1. Signal/Clip indicator – Displays the input
signal status in color.
• Green: Input signal present
• Red: Input signal clipping
2. Volume control – Adjusts the volume of
your microphone.
3. Treble control – Adjusts the amount of
treble on your microphone.
4. Bass control – Adjusts the amount bass on
your microphone.
5. Microphone input – Analog input for
connecting a balanced XLR microphone cable.
®
A ToneMatch
microphone preset is built in.
6
I
NFORMATION
1
2
3
4
5
®
signal
6
7
8
9
10
11
12
Channel 2 (Utility channel
6. Signal/Clip indicator – Displays the input
signal status in color.
• Green: Input signal present
• Red: Input signal clipping
7. Volume control – Adjusts the overall volume
of all input sources connected to Channel 2.
⅛
8.
-inch stereo input – Balanced analog input
for connecting audio sources such as portable
mp3 players, satellite radio, laptop computers,
video projectors, and smart boards.
9. RCA stereo input – Analog input for connect-
ing audio sources such as DVD players, VCR
players, video game consoles, DJ mixers,
Keyboards and other instruments. For best
results, connect both the left and right signals.
10. ¼-inch input – Balanced analog input for
connecting guitars and other instruments.
Accepts either ¼-inch TRS balanced or TS
unbalanced cables.
11. ToneMatch
®
switch – When connecting an
acoustic guitar to the ¼-inch input, move the
switch to the
ToneMatch
®
preset. When connecting anything
other than an acoustic guitar to the ¼-inch
input, move the switch down to the Line Level
position.
12. Power LED – Indicates power status.
Blue: Power on
–
multiple input)
position to enable a
