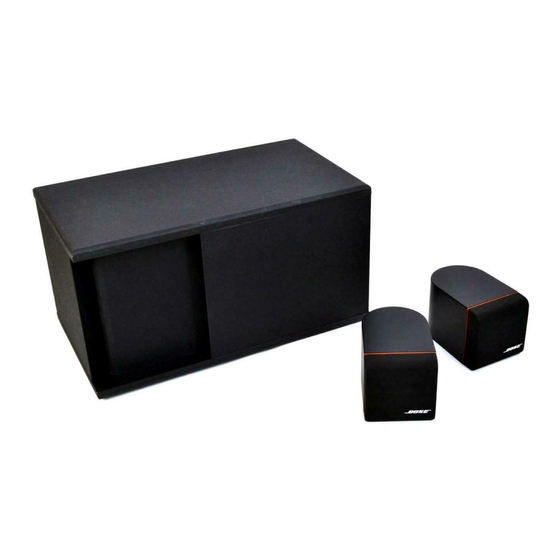
Bose Acoustimass 3 Series Руководство - Страница 18
Просмотреть онлайн или скачать pdf Руководство для Акустическая система Bose Acoustimass 3 Series. Bose Acoustimass 3 Series 43 страницы. Powered speaker system
Также для Bose Acoustimass 3 Series: Руководство пользователя (17 страниц), Руководство пользователя (10 страниц), Руководство по эксплуатации (42 страниц)

Satellite Test Procedures
NOTE: These procedures test the satellite
without the bass module.
1. Sweep Test
A. Connect an oscillator to a power amplifier.
Adjust the amplifier output to 4 Vrms. Connect
the amplifier leads to the satellite (cube speaker)
input terminals. Sweep the oscillator from 100 Hz
to 5 kHz. If any twiddler buzzes or sounds
distorted, replace it.
2. Phase Test
IMPORTANT: Supply voltage should only be
momentarily applied to the satellite input
terminals to avoid possible damage to the
twiddlers.
A. Set a DC power supply to 8 volts. To ensure
that each twiddler is connected in phase, connect
the positive supply lead to the positive (+)
satellite input terminal (red) and the negative
supply lead to the negative (-) satellite input
terminal (black). The twiddler should move
outwards with the application of the supply
voltage.
NOTE: If any twiddler cone deflects inwards or
does not move, check all connections.
Woofer (Module) Test Procedures
NOTES: These procedures test the bass module
without the satellites. All tests should be
performed with the bass and treble control knobs
in the normal or "detent" position and the volume
control knob at maximum volume.
It may be necessary to disassemble the module
in some of these procedures. Refer to the
Disassembly/Assembly Procedures section for
specific instructions.
AM-3P II TEST PROCEDURES
1. Turn-On Test
NOTES: Refer to the AM-3P II Main PCB
schematic for the location of the J7 mini-jack
input, pins 1 and 3. The On/Off Control Circuit
is located on this schematic.
This test can be performed with a fully
assembled module.
This procedure also refers to the "ring" and
"sleeve" of a standard 3.5 mm mini-jack.
A. Connect an oscillator to the module's L/R
audio input terminals. Adjust the oscillator to 500
Hz, 220 mVrms.
B. Insert a 3.5 mm mini-jack into the input
terminal labeled "System Control". The audio
signal should mute.
C. Set a DC power supply to 8 volts and apply
this voltage between pins 3 (ring) and 1 (sleeve,
which is connected to ground) of the mini-jack.
The audio signal should return.
2. Sweep Test
NOTE: This test can be performed with a fully
assembled module.
A. Connect an oscillator to the module's L/R
audio input terminals. Adjust the oscillator to 100
Hz, 220 mVrms. Sweep the oscillator from 10-
300 Hz. There should not be any loud,
extraneous sounds. If there are any loud buzzes
or distortion, replace the woofer.
NOTE: There should not be any buzzes or rattles
from within the module. Redress any wire or
component that buzzes or rattles.
18
