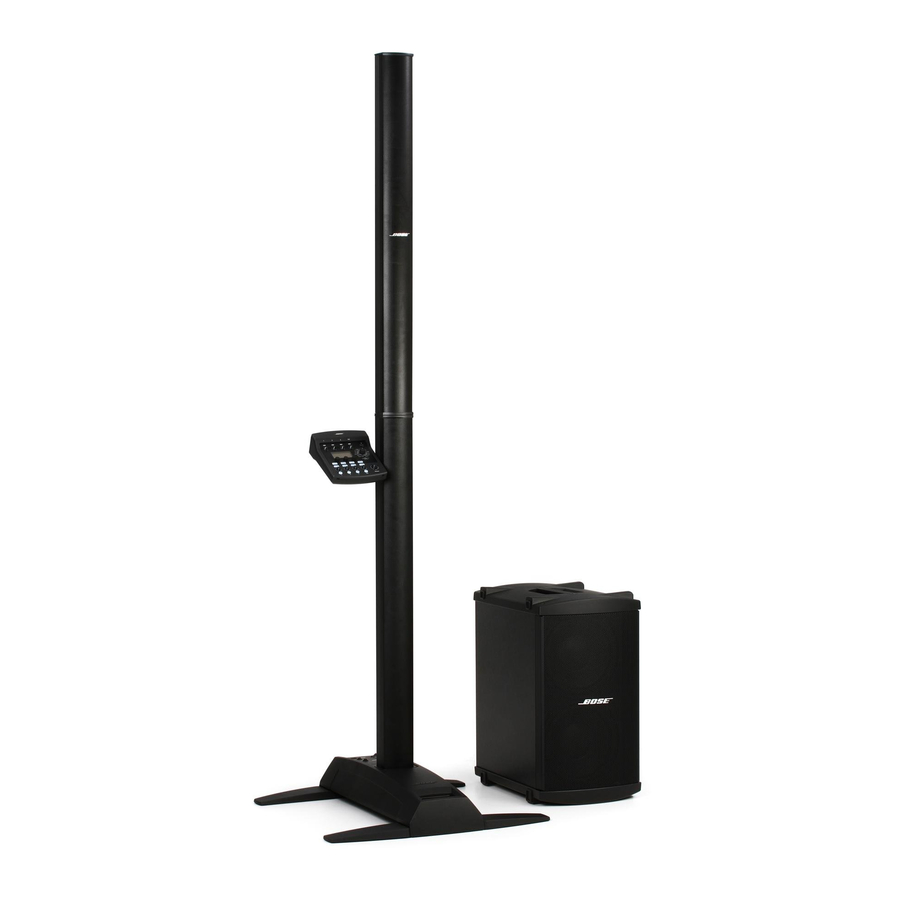
Bose L1 Model II Руководство пользователя - Страница 20
Просмотреть онлайн или скачать pdf Руководство пользователя для Усилитель Bose L1 Model II. Bose L1 Model II 32 страницы. Portable line array systems
Также для Bose L1 Model II: Руководство пользователя (32 страниц), Руководство пользователя (28 страниц), Технический паспорт (8 страниц), Технический паспорт (8 страниц), Руководство по применению (13 страниц), Руководство (15 страниц)

Svenska
Nederlands
S
S
YSTEM
ETUP
Adding a T1 ToneMatch
Figure 8
Mounting the T1
Mounting bar
2
Carriage
Locking knob
1
12
Italiano
Français
Svenska
TM
audio engine (optional)
The T1 ToneMatch
TM
audio engine provides additional input/output capabilities to your
system, plus digital signal processing to customize the way you sound. The audio engine
comes with hardware for mounting it on the left or right side of the L1
Radiator
®
loudspeaker.
Note: The audio engine mounts on the bottom section of the loudspeaker and requires removal
of the top section before starting this procedure.
1. Slide the carriage into the channel on the rear of the L1 bottom and turn the knob
clockwise to lock it in place (Figure 8).
2. Insert the mounting bar into the slot in the carriage and push it downward.
3. Place the T1 on the mounting bar as shown.
4. Plug one end of the ToneMatch cable (supplied with the audio engine) into the
ToneMatch output port (
5. Using the hook and loop strap, secure the cable to the carriage.
6. Plug the other end of the cable into the ToneMatch port on the power stand.
T1 ToneMatch
audio engine
3
L1 model II Cylindrical
Radiator
®
loudspeaker bottom
Nederlands
Español
Français
Deutsch
Italiano
) on the T1.
ToneMatch cable
(supplied with T1)
Deutsch
Español
Dansk
English
English
Dansk
TM
model II Cylindrical
T1 ToneMatch
audio engine
4
Hook and loop strap
5
L1 model II
Cylindrical
Radiator
bottom
6
Power stand
®
