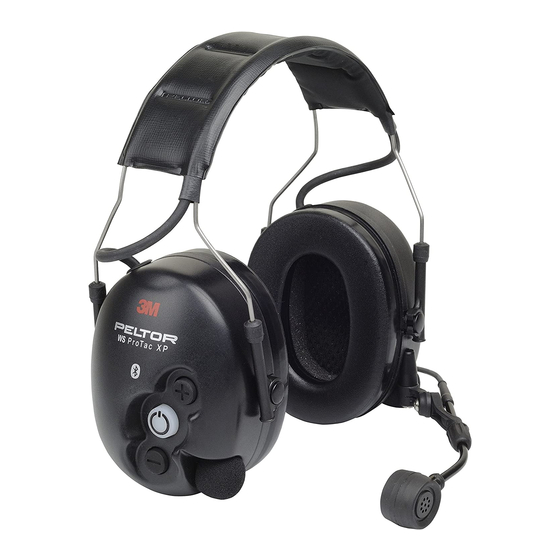
3M Peltor WS ProTac XP MT15H7BWS5 Series Инструкции пользователя - Страница 8
Просмотреть онлайн или скачать pdf Инструкции пользователя для Гарнитуры 3M Peltor WS ProTac XP MT15H7BWS5 Series. 3M Peltor WS ProTac XP MT15H7BWS5 Series 19 страниц.

GB
WS ProTac XP
The product(s) described in this user instruction is in conformity with the provisions set out in the Personal protective
euqipment (PPE) directive 89/686/EEC and the Radio equipment and Telecommunications terminal equipment directive
(R&TTE) 1999/5/EC. Thereby it fulfils the requirements for CE marking.
Model designation:
MT15H7AWS5*
MT15H7FWS5*
MT15H7P3*WS5*
MT15H7BWS5*
1. WHAT IS WHAT
(B:1) Headband wire (stainless steel)
(B:2) Two-point fastener (headband wire)
(B:3) Ear cushion (PVC foil and Polyester foam)
(B:4) Microphone for surround sound
(B:5) Headband padding (PVC)
(B:6) Flex audio input
(B:7) On/Off/Mode
(B:8) VOL+, VOL –
(B:9) Speech microphone
(B:10) Bluetooth button
(B:11) PTT button (Flex Headset)
Note:
B:1 Neckband version: stainless steel, Helmet attachment version: stainless steel, foldable headband stainless steel.
B:4 Neckband cover: POE Foldable headband cover: Leather.
2. FITTING AND ADJUSTMENT
Headband and foldable headband (Fig. C)
Slide the cups out and place the headset over your ears so that the ear cushions fit snugly. (1)
Adjust the height of the cups by sliding them up or down whilst holding the headband in place. (2)
The headband should be positioned across the top of the head. (3)
The foldable headband version does not fit small size headforms.
Helmet attachment (Fig. D)
Snap the helmet attachment into the slot on the helmet (1).
The cups can be set in two positions: Ventilation position (2) or working position (3).
When in use, the cups must be placed in working position!
Press the headband wires inwards until you hear a click on both sides and ensure that the shell or the headband wires do
not press against the lining or edge of the helmet, which could cause noise leakage.
Notice! Never place cups with humid foam on the helmet! (4)
Helmet mounted version approved combinations (Fig. K)
The helmet mounted version of these ear-muffs should be fitted to, and used only with, the industrial safety helmets listed in (Fig K).
1. Helmet brand
2. Helmet model
3. Test report
4. Helmet attachment
5. Headform size. (
S=small, N=medium, L=large)
Neckband
Open the headband strap and place the headset over your ears so that the ear cushions fit snugly.
Put the headband strap together where the ear cushions are in place over the ears.
The headband strap should be positioned across the top of the head.
2
Headband version
Foldable headband version
Helmet attachment version
Neckband version
