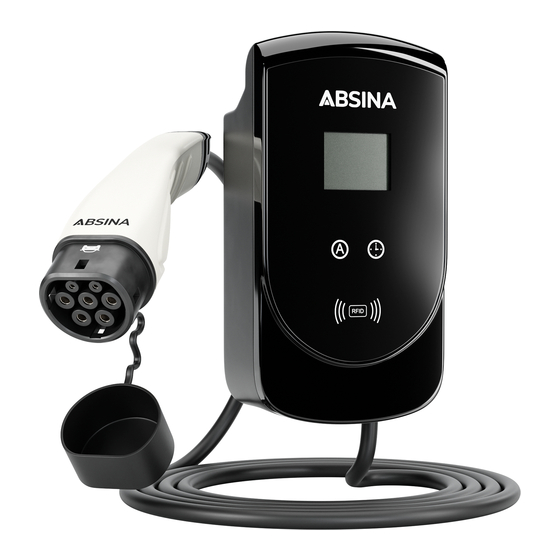
ABSINA WALLBOX Руководство по эксплуатации - Страница 15
Просмотреть онлайн или скачать pdf Руководство по эксплуатации для Зарядное устройство ABSINA WALLBOX. ABSINA WALLBOX 20 страниц.

11. NOTES FOR 1-PHASE CHARGING
The LCD display of the wallbox only shows the
parameters "Current charging current (11)" and
"Charged energy (12)" for vehicles with 3-phase
charging. When charging vehicles with 1-phase
charging, these parameters are not displayed - the
displays are permanently set to "0.0". In the case of 1-
phase charging, the state of charge is only displayed
via "Charge indicator 1" and "Status indicator 16".
12. BEFORE COMMISSIONING
Please
check
the
following
commissioning the wallbox:
§ The wallbox is firmly seated on the wall bracket.
§ The wallbox has been properly connected by a
specialist.
§ The house installation has been checked for
suitability.
13. SWITCHING ON THE WALLBOX
After connecting the wallbox to the power supply, a
short tone sounds and the wallbox carries out a self-
test for approx. 5 seconds. After the test has been
completed, a double beep sounds and the ABSINA
indicator lights up green.
The LCD display lights up, the wallbox switches to
standby mode and signals "Ready".
If an error is detected during the self-test, the
charging indicator (1) flashes red and the display shows
Err:Reset. Check whether the EMERGENCY OFF switch
on the right-hand side of the wallbox is activated. Turn
it to the right to move it to the ON position. The wallbox
is now ready for operation. If it is still in error mode,
please have your connection or wiring checked by a
specialist.
14. PREPARATION OF THE CHARGING
PROCESS
1. Touch the sensor button (A) several times to set the
charging current. The charging current display
changes to 8A-10A-13A-16A.
2. The start time of the charging process can be set by
the hour from 1h to 15h via the sensor button (clock
symbol) if the charging process is not to be started
immediately. The timer starts with the start process
by the RFID card and the countdown to the start of
charging is shown in the charging time display.
15. CHARGING PROCESS
1. Switch off the vehicle engine and put the gear lever
in park.
2. Pull the protective cap off the charging plug and
connect the plug to the charging socket of your
points
before
vehicle.
3. The status display signals "Please Swipe Card".
Insert the supplied RFID card past the RFID receiver
of the wallbox at a distance of approx. 2mm.
4. The wallbox acknowledges the activation with a tone
and starts charging.
5. During charging, the ABSINA indicator flashes blue.
The battery symbol indicates a charging battery and
the status display shows "Connect" and "Charging".
6. During charging, the following parameters can be
queried in the LCD display:
§ Internal temperature
§ Current supply voltage
§ Current charging current
§ Current charging power
§ Set charging current
§ Charged energy in kWh
§ Elapsed charging time
The charging process is complete when the ABSINA
LED lights up green continuously and the status
indicator shows "Ready".
After the charging process has been completed and
released by the vehicle, pull the charging plug out of
the charging socket of your vehicle. Put the
protective cap on the charging plug and roll up the
cable without kinks. Then roll up the cable and place
it around the wallbox.
Deutsch . English
