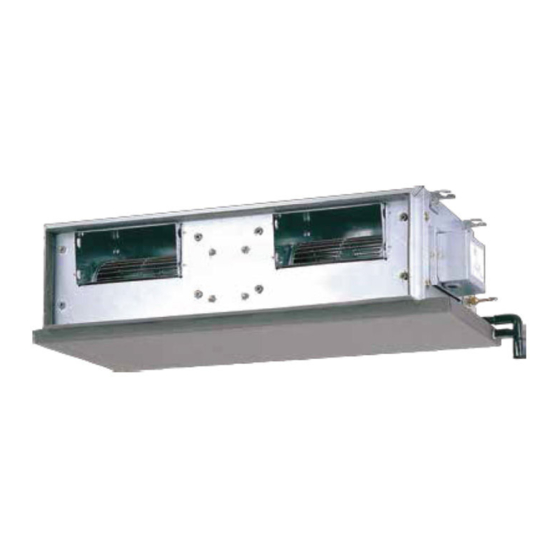
Daikin FWPMM9AV1 Руководство по установке - Страница 12
Просмотреть онлайн или скачать pdf Руководство по установке для Вентилятор Daikin FWPMM9AV1. Daikin FWPMM9AV1 17 страниц. Ceiling concealed chilled water fan coil unit

•
All wires must be fi rmly connected.
•
Make sure all the wire do not touch the refrigerant pipings, compressor or any moving parts.
•
The connecting wire between the indoor unit and the outdoor unit must be clamped by using provided cord anchorage.
•
The power supply cord must be equivalent to H07RN-F which is the minimum requirement.
•
Make sure no external pressure is applied to the terminal connectors and wires.
•
Make sure all the covers are properly fi xed to avoid any gap.
•
Use round crimp-style terminal for connecting wires to the power supply terminal block. Connect the wires by matching
to the indication on terminal block. (Refer to the wiring diagram attached on the unit).
•
Use the correct screwdriver for terminal screws tightening. Unsuitable screwdrivers can damage the screw head.
•
Over tightening can damage the terminal screw.
•
Do not connect wire of different gauge to same terminal.
•
Keep wiring in an orderly manner. Prevent the wiring from obstructing other parts and the terminal box cover.
Connect wires of the
same gauge to both side.
Error Description
Room Sensor error
Pipe Water Sensor error
Water Pump error
Pipe Water Temperature fault
Operating Limits:
Thermal carrier : Water
Water temperature : 4°C ~ 10°C (Cooling)
Maximum water pressure : 16 bar
Air temperature : (as below)
Cooling Mode
Temperature
Minimum indoor temperature
Maximum indoor temperature
Ts: Dry bulb temperature.
Attach insulation sleeve
Round crimp-style terminal
Do not connect wires of the
same gauge to one side.
INDICATOR LIGHTS
Cool LED
1 blinks
2 blinks
3 blinks
5 blinks
OPERATING RANGE
Ts °C/°F
19.0 / 66.2
32.0 / 89.6
Th: Wet bulb temperature.
1-10
Electric wire
Do not connect wires
of different gauges.
Th °C/°F
14.0 / 57.2
23.0 / 73.4
Error Indication
E1
E2
E6
E5
