Daikin R32 Split Series Руководство по установке - Страница 7

Просмотреть онлайн или скачать pdf Руководство по установке для Вентилятор Daikin R32 Split Series. Daikin R32 Split Series 17 страниц. R32 split series
Также для Daikin R32 Split Series: Руководство по установке (16 страниц), Руководство по установке (16 страниц), Руководство по установке (16 страниц), Руководство по установке (17 страниц), Руководство по установке (16 страниц), Руководство по установке (20 страниц), Руководство по установке (14 страниц), Руководство по установке (14 страниц), Руководство по эксплуатации (16 страниц), Руководство по эксплуатации (16 страниц), Руководство по эксплуатации (8 страниц), Руководство по установке (17 страниц), Руководство по установке (16 страниц), Руководство по установке (20 страниц), Руководство по установке (20 страниц), Руководство по установке (16 страниц), Руководство по установке (16 страниц), Руководство по установке (14 страниц), Руководство по установке (14 страниц), Руководство по установке (16 страниц), Руководство по установке (17 страниц), Руководство по установке (20 страниц), Руководство по установке (13 страниц)
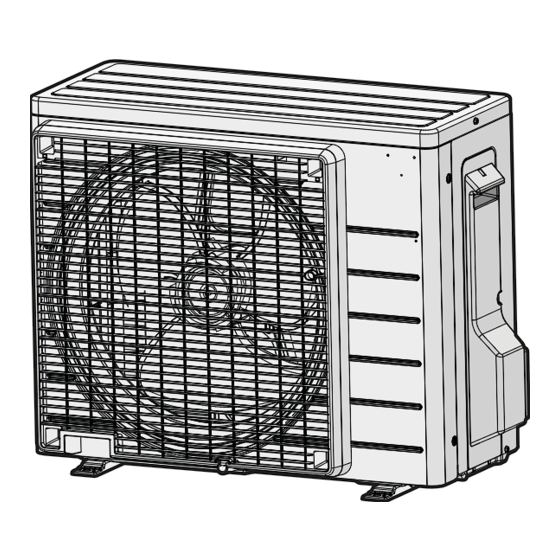
Daikin R32 Split Series Руководство по установке

Indoor Unit Installation

1.
Installing the mounting plate
• The mounting plate should be installed on a wall which can support the weight of the indoor unit.
1) Temporarily secure the mounting plate to the wall, make sure that the panel is completely level, and mark the boring points
on the wall.
2) Secure the mounting plate to the wall with screws.
Recommended mounting plate retention spots and dimensions
Recommended mounting plate
retention spots (5 spots in all)
125.5
59.5
Keep here the piece cut out
from the unit for piping
2.
Boring a wall hole and installing wall embedded pipe
• For walls containing metal frame or metal board, be sure to use a wall
embedded pipe and wall cover in the feed-through hole to prevent possible
heat, electrical shock, or fire.
• Be sure to caulk the gaps around the pipes with caulking material to
prevent water leakage.
1) Bore a feed-through hole of 65mm in the wall so it has a down slope
toward the outside.
2) Insert a wall pipe into the hole.
3) Insert a wall cover into wall pipe.
4) After completing refrigerant piping, wiring, and drain piping, caulk pipe hole gap with putty.
3.

Installing the indoor unit

• In the case of bending or curing refrigerant pipes, keep the following
precautions in mind.
Abnormal sound may be generated if improper work is conducted.
1) Do not strongly press the refrigerant pipes onto the bottom frame.
2) Do not strongly press the refrigerant pipes on the front grille, either.
English
Place a leveler
on raised tab.
203
160
50
330.5
* The removed pipe port cover can be
kept in the mounting plate pocket.
247
160
Gas pipe end
331
Liquid pipe end
780
Removed pipe
port cover
Use a tape measure
as shown.
Position the end of
the tape measure at
.
106
59
Through-
the-wall
hole 65mm
ø
Drain hose position
Mounting plate
A
Inside
Wall embedded pipe
(field supply)
Wall hole cover
(field supply)
unit: mm
Outside
Caulking
Wall embedded pipe
(field supply)
5