Daikin R32 Split Series Руководство по установке - Страница 10

Просмотреть онлайн или скачать pdf Руководство по установке для Вентилятор Daikin R32 Split Series. Daikin R32 Split Series 17 страниц. R32 split series
Также для Daikin R32 Split Series: Руководство по установке (17 страниц), Руководство по установке (16 страниц), Руководство по установке (16 страниц), Руководство по установке (16 страниц), Руководство по установке (16 страниц), Руководство по установке (20 страниц), Руководство по установке (14 страниц), Руководство по установке (14 страниц), Руководство по эксплуатации (16 страниц), Руководство по эксплуатации (16 страниц), Руководство по эксплуатации (8 страниц), Руководство по установке (17 страниц), Руководство по установке (16 страниц), Руководство по установке (20 страниц), Руководство по установке (20 страниц), Руководство по установке (16 страниц), Руководство по установке (16 страниц), Руководство по установке (14 страниц), Руководство по установке (14 страниц), Руководство по установке (16 страниц), Руководство по установке (17 страниц), Руководство по установке (20 страниц), Руководство по установке (13 страниц)
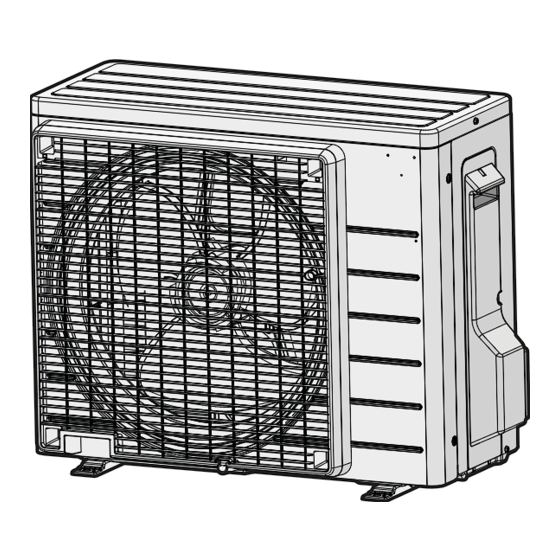
Daikin R32 Split Series Руководство по установке

DRAIN PIPING WORK

Caution
Make sure all water is out before making the duct connection.
 Install the drain piping.
• Make sure the drain works properly.
• The diameter of the drain pipe should be greater than or equal to the
diameter of the connecting pipe (vinyl tube; pipe size: 20mm; outer
dimension: 26mm).
• Keep the drain pipe short and sloping downwards at a gradient of at
least 1/100 to prevent air pockets from forming.
Caution
Water accumulating in the drain piping can cause the drain to clog.
• To keep the drain tube from sagging, space hanging wires every 1 to 1.5m.
• Use the drain hose and the metal clamp. Insert the drain hose fully into the drain socket and firmly tighten the metal clamp with
the upper part of the tape on the hose end. Tighten the metal clamp until the screw head is less than 4mm from the hose.
• The two areas below should be insulated because condensation may form there causing water to leak.
• Drain piping passing indoors
• Drain sockets
Referring to the figure below, insulate
the metal clamp and drain hose using
the included large sealing pad.
 PRECAUTIONS 
Drain piping connections
• Do not connect the drain piping directly to sewage pipes that smell of ammonia. The ammonia in the sewage might enter the
indoor unit through the drain pipes and corrode the heat exchanger.
• Do not twist or bend the drain hose, so that excessive force is not applied to it.
(This type of treatment may cause leaking.)
 After piping work is finished, check drainage flows smoothly.
• Gradually insert approximately 1L of water into the drain pan to check
drainage in the manner described below.
• Gradually pour approximately 1L of water from the outlet hole into
the drain pan to check drainage.
• Check the drainage.
8
Clamp metal
(accessory)
Tape
Drain hose
Refrigerant pipes
≤4mm
Air outlet
Portable pump
Refrigerant pipes
Bucket
Drain pipe connection hole
Connect the drain pipe after
removing the rubber cap and
insulation tubing attached to
the connection hole.
Large sealing pad
(accessory)
Clamp metal
(accessory)
Drain outlet
English